7/4/2023 Admin
Bring Your Own Data to Azure OpenAI
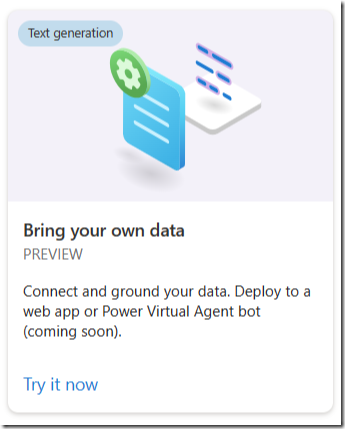
Azure OpenAI, using models created by OpenAI such as GPT 3 and GPT 4 can do amazing things using the data they were trained on.
This poses a challenge for users who want to customize Azure OpenAI with their own private data. How can you make Azure OpenAI more responsive and relevant to your specific needs? Basically, how can you get your own custom private data into Azure OpenAI?
The RAG Pattern

As described in the article: Use a Poor Developers Vector Database to Implement The Retrieval Augmented Generation (RAG) pattern is a technique for building natural language generation systems that can retrieve and use relevant information from external sources.
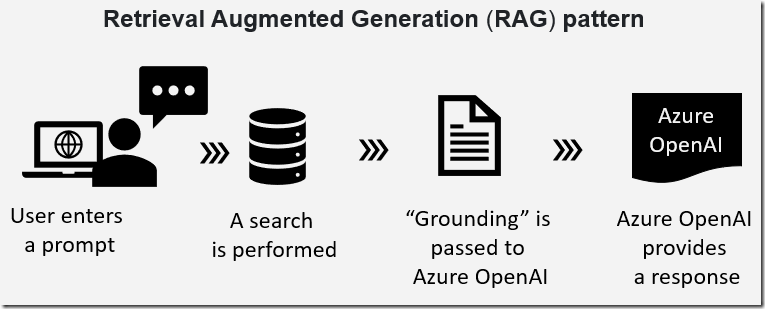
The concept is to first retrieve a set of passages that are related to the search query, then use them to supply grounding to the prompt, to finally generate a natural language response that incorporates the retrieved information.
To ground a model means to provide it with some factual or contextual information that can help it produce more accurate and coherent outputs.
For example, if the prompt is “Who is the president of France?”, the model needs to know some facts about the current political situation in France.
If the prompt is “How are you feeling today?”, the model needs to know some context about the previous conversation or the user’s mood.
One way to ground a model is to use the RAG pattern and retrieve relevant information from external sources, and supply that information to the prompt.
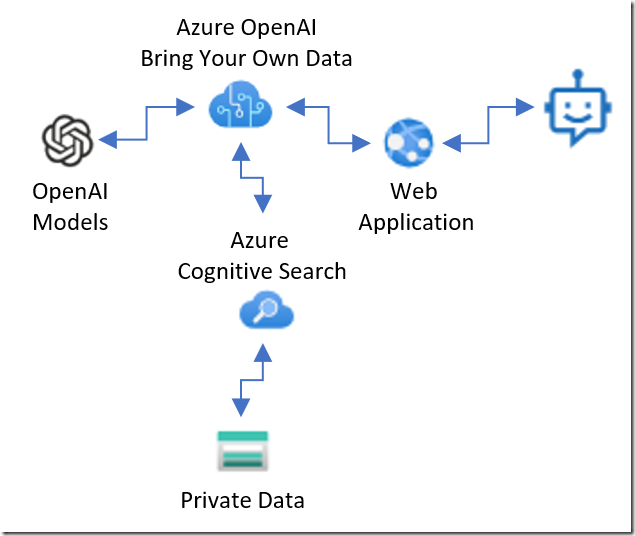
Microsoft Azure OpenAI provides a service that will implement this process called Bring your own data:
- It allows you to run OpenAI models, such as ChatGPT and GPT-4, on your own data
- It supports connecting to multiple data sources, such as Azure Cognitive Search index, Azure Blob storage container, or local files (but everything is imported into Azure Cognitive Search)
Set-up Azure OpenAI
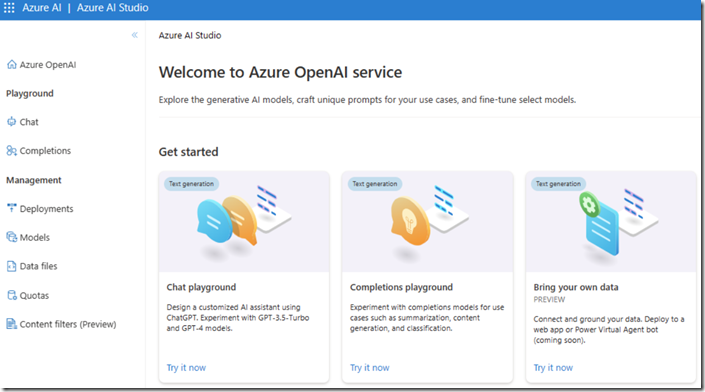
See the article: What Is Azure OpenAI And Why Would You Want To Use It? for instructions on setting up Azure OpenAI.
Set Up Azure Cognitive Search
The Bring your own data feature provides several options to add your own data, but they all involve ultimately importing that data into Azure Cognitive Search.
It provides the following functionality:
- Azure Cognitive Search is a search engine that allows full text search over a search index containing user-owned content.
- It provides rich indexing with lexical analysis and optional AI enrichment for content extraction and transformation.
- It has a rich query syntax for text search, fuzzy search, autocomplete, geo-search and more.
- It is programmable through REST APIs and client libraries in Azure SDKs.
- It integrates with Azure at the data layer, machine learning layer, and AI (Cognitive Services).
If you do not already have Azure Cognitive Search set up, go to: https://portal.azure.com/#create/Microsoft.Search.
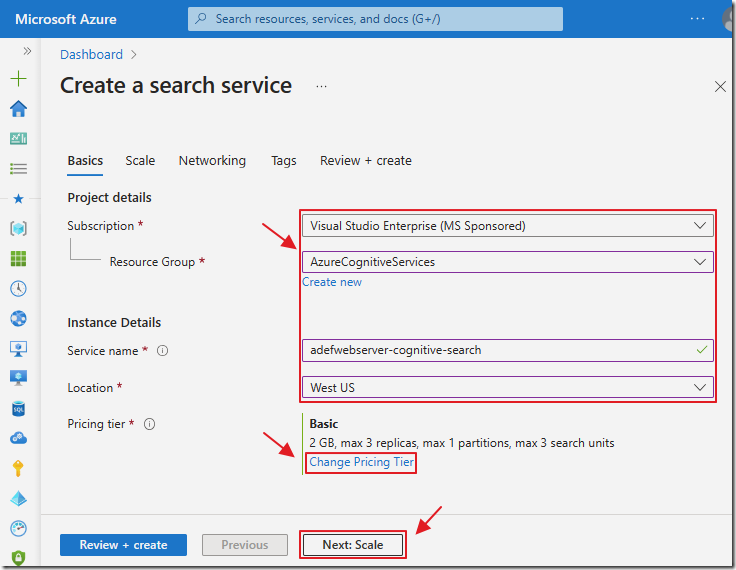
Fill in the project details, paying special attention to the Pricing tier, and press Next: Scale.
Note: To use this service with Bring your own data, you must use Basic Tier or higher (this is cost is a minimum $75 a month).
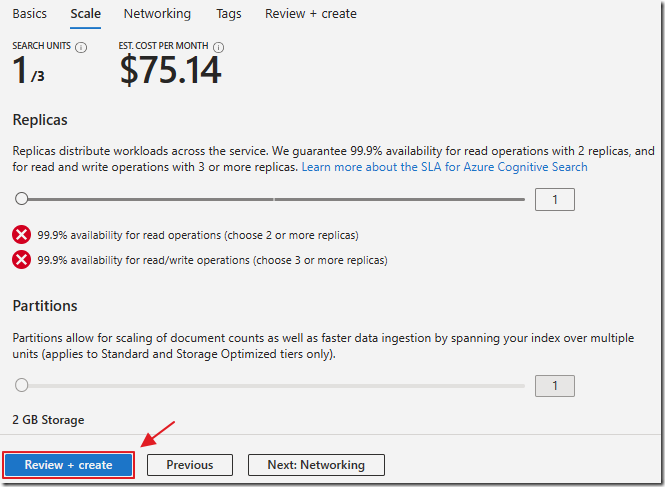
Set the number of replicas you want and press Review + create.
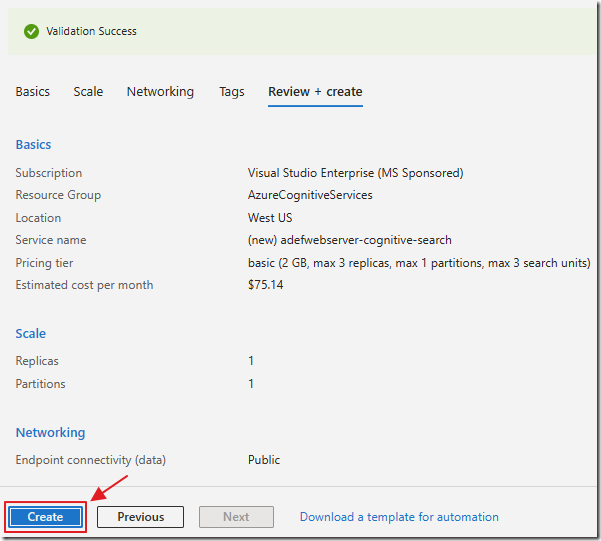
Click Create.
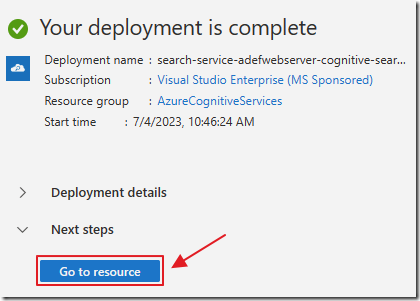
After the service is created, you can navigate to it.
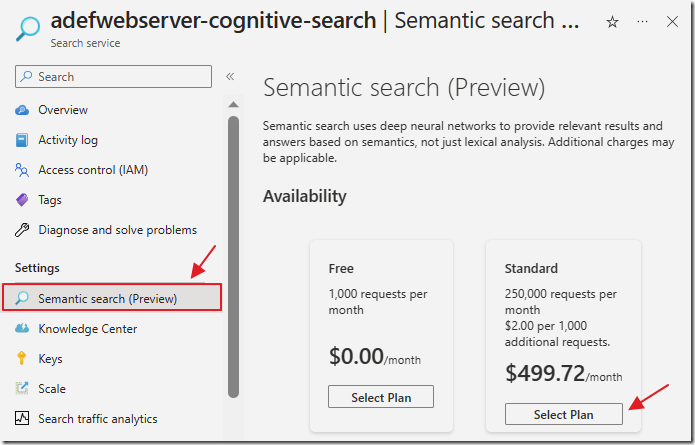
Note: For the best search results, you will want to enable Semantic Search.
However, at the time of this writing, it costs a minimum of $499 a month.
Get Sample Data
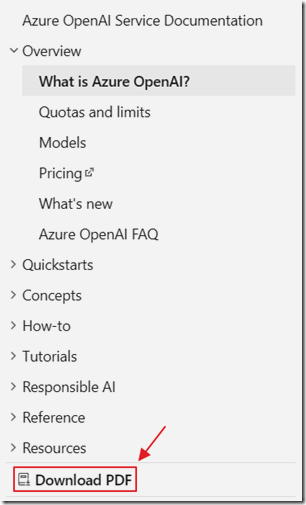
For sample data, we will go to the Azure OpenAI documentation page at: https://learn.microsoft.com/en-us/azure/cognitive-services/openai/overview and click the button to Download PDF.
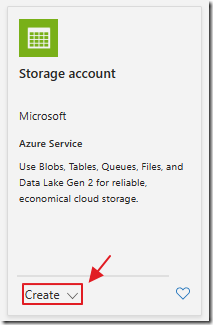
If we don’t already have an Azure Storage account, we will go into the Azure Portal, click Create a resource, search for Storage account, select it, and click Create.
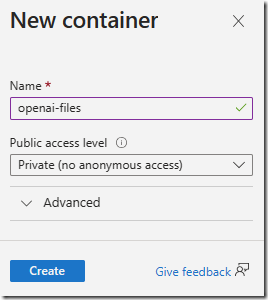
In the Storage account, create a container.
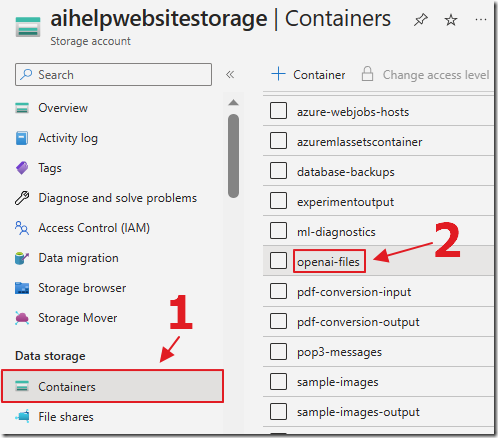
Select the container.
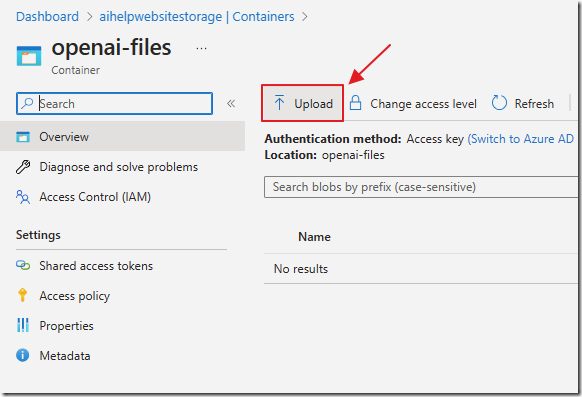
Select Upload.

Upload the file to the container.
Bring Your Own Data
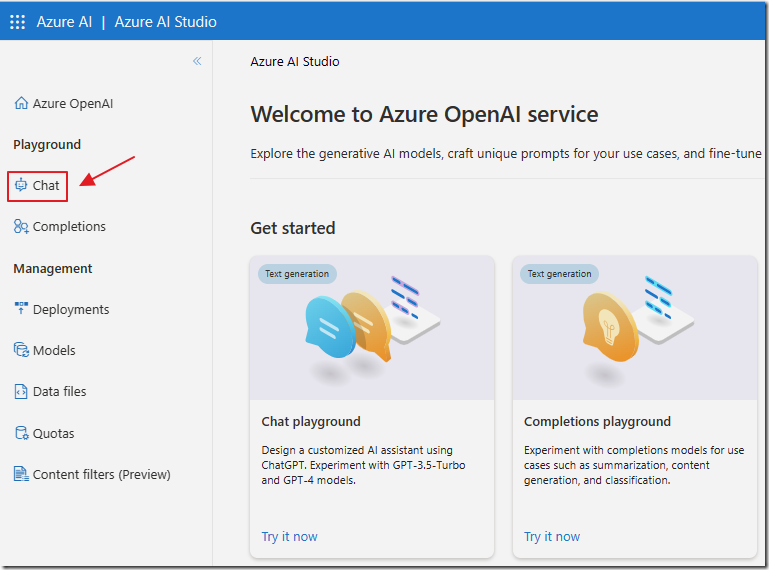
Navigate to the Azure OpenAI Portal using: https://oai.azure.com/.
Click the Chat link.
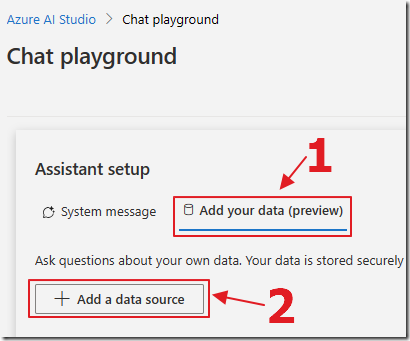
Select the Add your data tab and then click the Add a data source button.
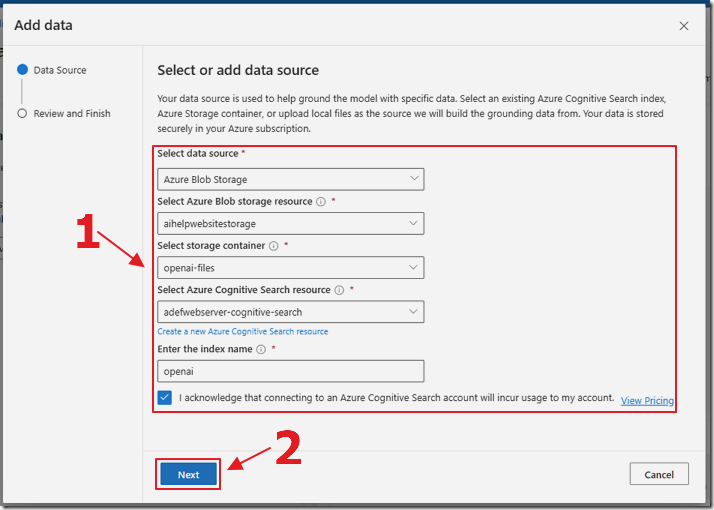
In the Add data dialog, select Azure Blob Storage for the data source and fill out the selections to indicate the storage container and Azure Cognitive Search resource created earlier.
Enter openai for the Index name.
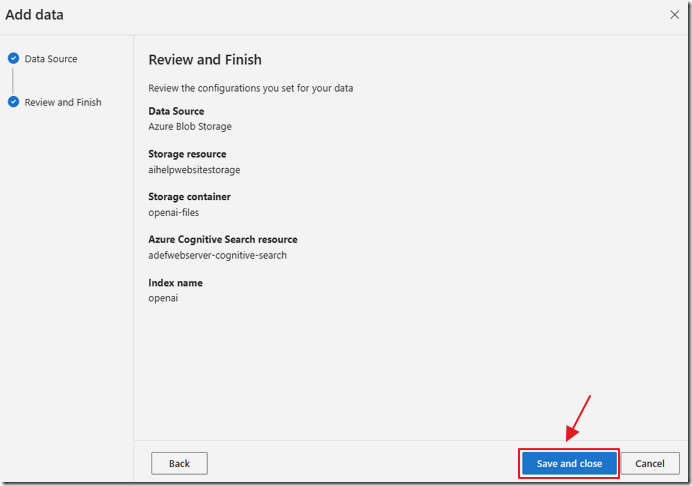
Click Save and close.
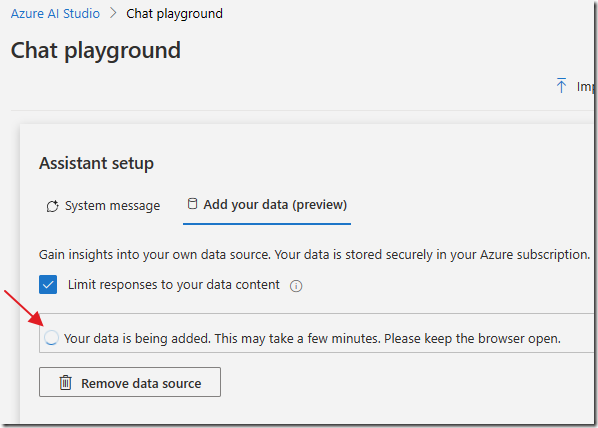
You will see a status message that the data is being indexed.
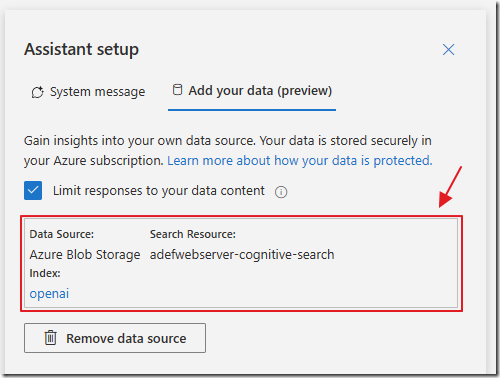
It will indicate when the indexing is complete.
Note: There is a checkbox option to limit the responses returned by the Chat to the data supplied. Leave that checked for now.
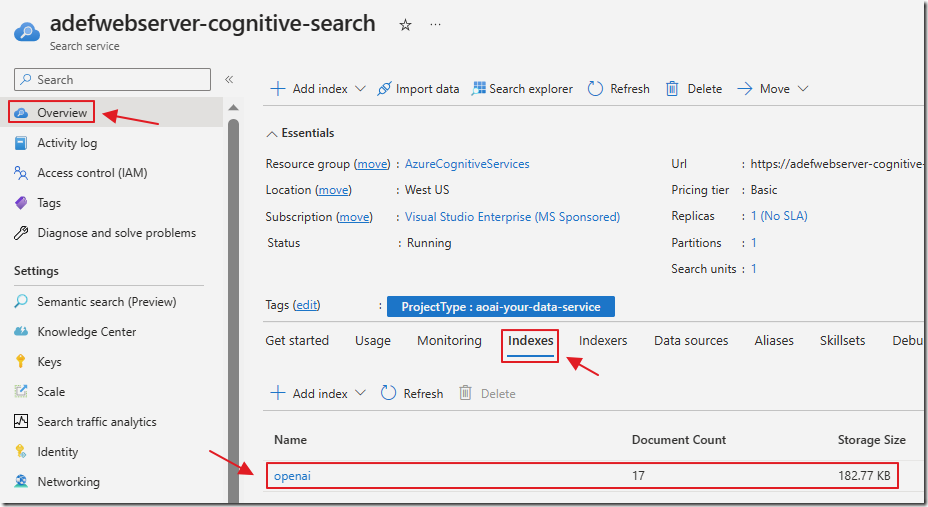
If we open another web browser window and navigate to the Azure Cognitive Search resource created earlier, we will see that an index has been created.
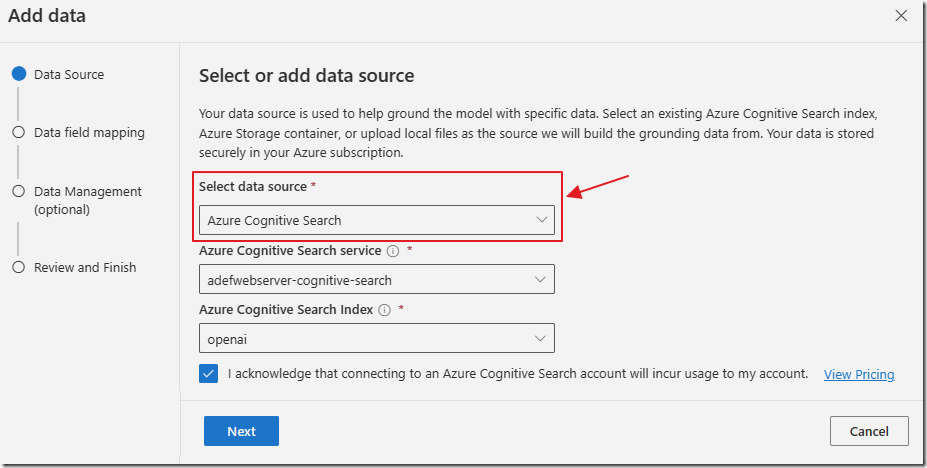
If we ever need to restart the Azure OpenAI Bring your own data wizard, in the Azure OpenAI Studio, we can select this existing index by first selecting Azure Cognitive Search for the data source.
Chatting With The Data
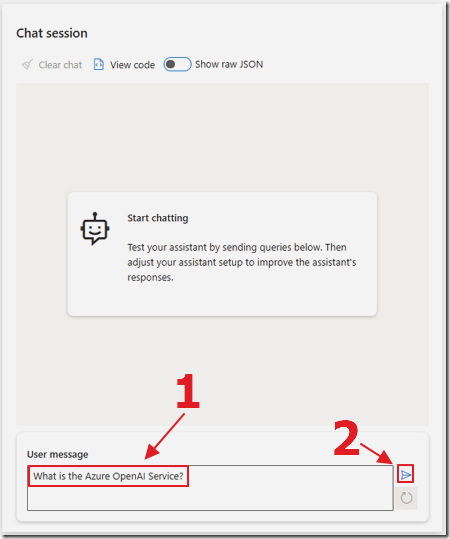
Returning to the Azure OpenAI Studio, in the Chat session section, we can enter a query.
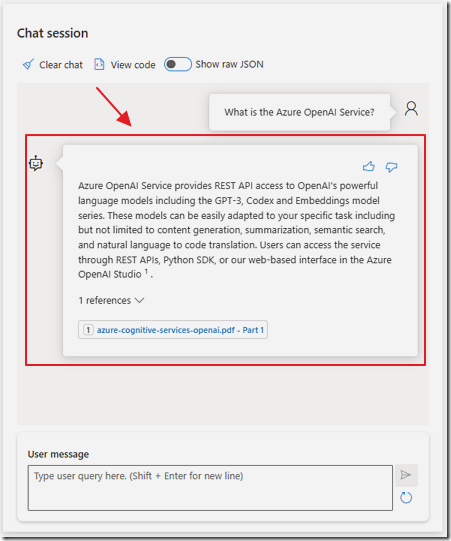
The response will be displayed along with links to the original .pdf document.
Creating A Web Application

You can create a web application by selecting the Deploy to dropdown, which will open a deployment wizard.
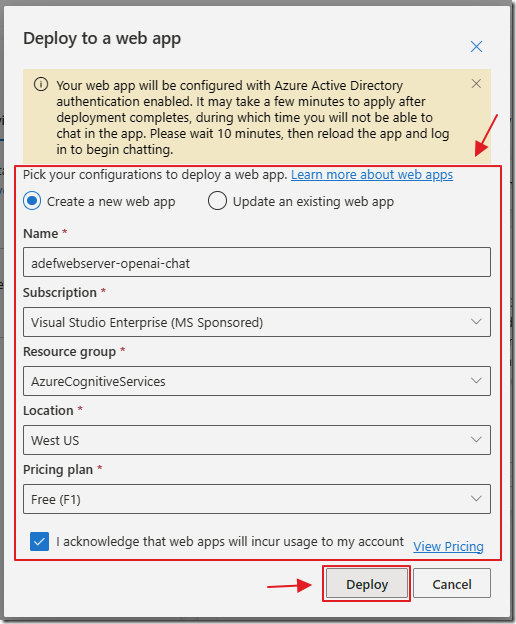
You can specify the settings to create a deployment to an Azure web app.

The app will be created and deploy.
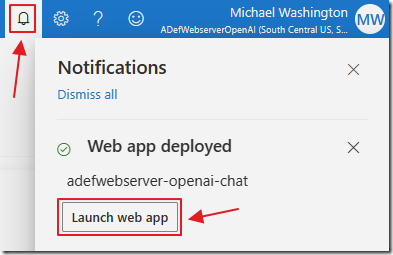
The Notifications will let you know when the process is complete and provide a link to the web app.
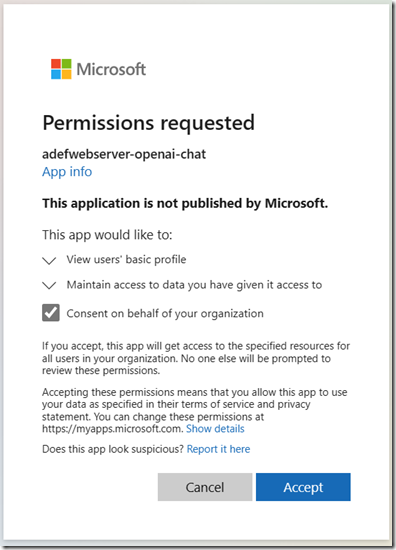
When you navigate to the app you will need to log in and grant permission.
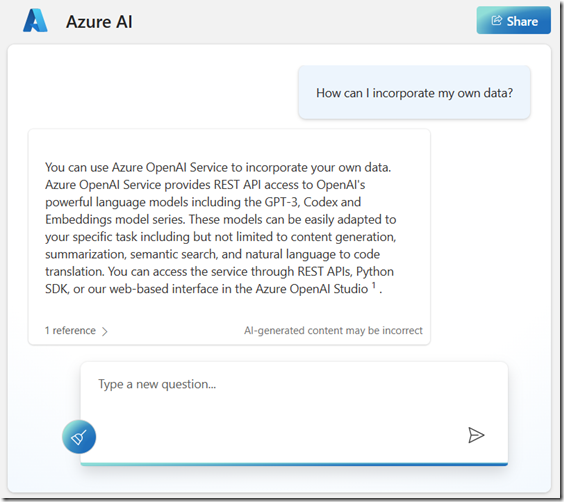
You will then have the ability to chat with your data source.
Other Options
There are other options to achieve the same results. See: Use a Poor Developers Vector Database to Implement The RAG Pattern
Links
What Is Azure OpenAI And Why Would You Want To Use It?
Azure Cognitive Search pricing
Semantic search in Azure Cognitive Search
Introducing Azure OpenAI Service On Your Data in Public Preview
Azure OpenAI on your data (preview)
(Video) New easy way to add your data to Azure OpenAI Service
(Video) Making Enterprise GPT Real with Azure Cognitive Search and Azure OpenAI Service
