5/24/2023 Admin
Create a C# OpenAI ChatGPT Plugin
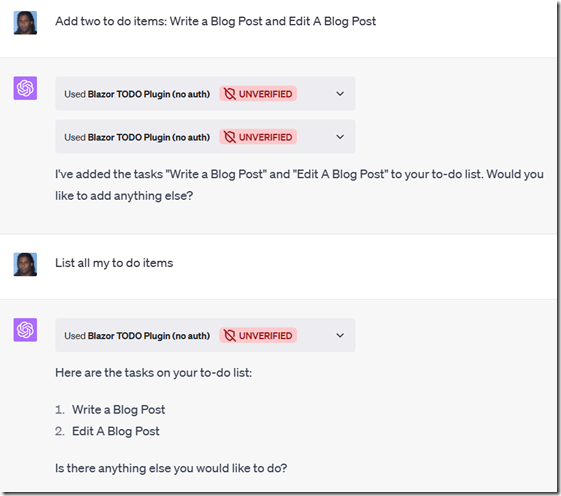
In the ever-evolving world of artificial intelligence, OpenAI's ChatGPT has emerged as a powerful tool for creating dynamic and engaging conversational experiences.
However, integrating this technology into your own applications may seem daunting.
Fear not! In this blog post, we will guide you through the process of creating a simple ChatGPT plug-in using C#.
In this article we will create a C# version of the OpenAI plugin TO DO example.
A special thanks to this article: How to Build a ChatGPT Weather Plugin with C# and ASP.NET Web API for demonstrating how to create the required .yaml file automatically.
Video

https://www.youtube.com/watch?v=8k3OZwAvC7w
Requirements
- OpenAI Account: You can sign up for an OpenAI account by following this link.
- ChatGPT Plugin Access: If you haven't obtained access through a paid account, you can join the waitlist by clicking here.
Create The Application
Use Visual Studio to create the application.
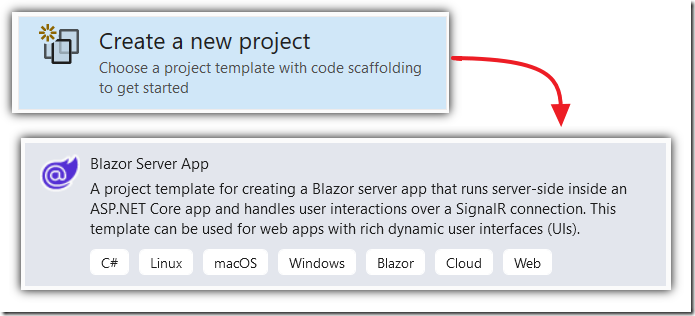
Create a Blazor Server app named BlazorChatGPTPlugin.
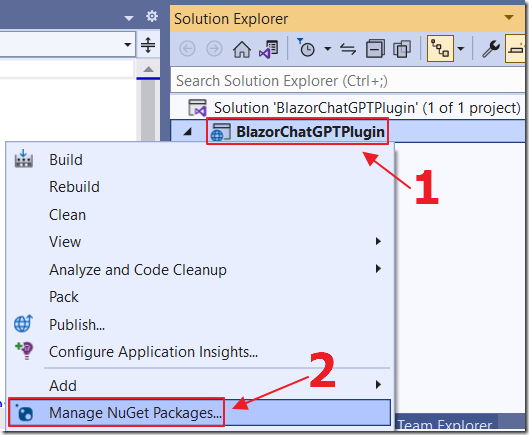
Right-click on the Project node and select Manage NuGet Packages..
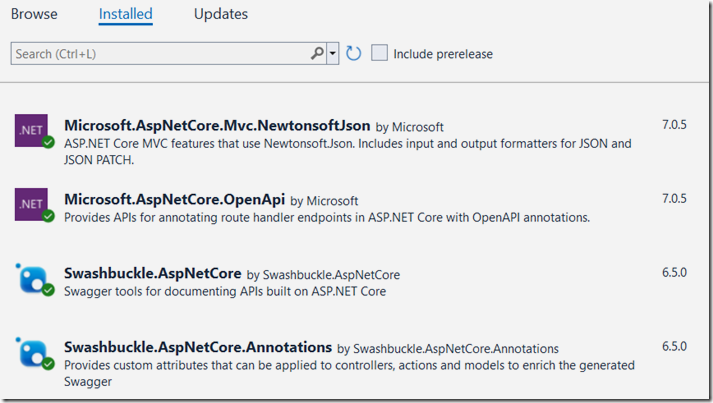
Install the following NuGet packages:
- Microsoft.AspNetCore.OpenApi
- Swashbuckle.AspNetCore
- Swashbuckle.AspNetCore.Annotations
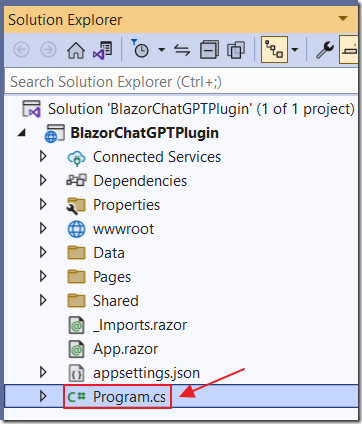
Open the Program.cs file.
Add the following code before the var app = builder.Build() line:
// ** Create CORS policy called OpenAI// to allow OpenAI to access the APIbuilder.Services.AddCors(options =>{options.AddPolicy("OpenAI", policy =>{policy.WithOrigins("https://chat.openai.com","http://localhost:5165").AllowAnyHeader().AllowAnyMethod();});});// ** Add controllers to the applicationbuilder.Services.AddControllers();// ** Add Swagger/OpenAPI to the application// Learn more about configuring Swagger/OpenAPI at https://aka.ms/aspnetcore/swashbucklebuilder.Services.AddEndpointsApiExplorer();builder.Services.AddSwaggerGen(options =>{options.CustomOperationIds(e => $"{e.ActionDescriptor.RouteValues["controller"]}_{e.HttpMethod}");options.SwaggerDoc("v1", new OpenApiInfo{Title = "Blazor TODO Plugin (no auth)",Version = "v1",Description = "Plugin for managing a TODO list, you can add, remove and view your TODOs."});});
Next, disable this line:
// Disable this so that OpenAI can access the API// without using https (which is not supported by OpenAI)//app.UseHttpsRedirection();
Also, add the following code before the app.MapFallbackToPage("/_Host") line:
app.MapControllers();
Add the following code before the app.Run() line:
// ** CORS to allow OpenAI to access the APIapp.UseCors("OpenAI");// ** Serve the .well-known folder for OpenAIapp.UseStaticFiles(new StaticFileOptions{FileProvider = new PhysicalFileProvider(Path.Combine(Directory.GetCurrentDirectory(), ".well-known")),RequestPath = "/.well-known"});// ** UseSwaggerapp.UseSwagger(c =>{c.PreSerializeFilters.Add((swaggerDoc, httpReq) =>{swaggerDoc.Servers = new List<OpenApiServer> {new OpenApiServer {Url = $"{httpReq.Scheme}://{httpReq.Host.Value}"}};});});// ** UseSwaggerUIapp.UseSwaggerUI(x =>{x.SwaggerEndpoint("/swagger/v1/swagger.yaml","Blazor TODO Plugin (no auth)");});
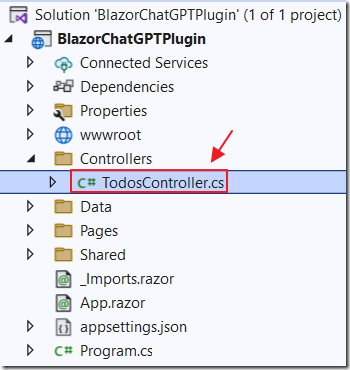
Add a Controllers folder, and a TodosController.cs file with the following code:
using Microsoft.AspNetCore.Http;using Microsoft.AspNetCore.Mvc;namespace BlazorChatGPTPlugin.Controllers{[ApiController][ApiExplorerSettings(GroupName = "v1")][Produces("application/json")][Route("[controller]")]public class TodosController : ControllerBase{private static readonly Dictionary<string, List<string>>_TODOS = new Dictionary<string, List<string>>();[ProducesResponseType(StatusCodes.Status200OK)][ProducesResponseType(StatusCodes.Status404NotFound)][HttpPost("{username}")]public IActionResult AddTodo(string username,[FromBody] TodoRequest request){if (!_TODOS.ContainsKey(username)){_TODOS[username] = new List<string>();}_TODOS[username].Add(request.Todo);return Ok();}[ProducesResponseType(StatusCodes.Status200OK)][ProducesResponseType(StatusCodes.Status404NotFound)][HttpGet("{username}")]public IActionResult GetTodos(string username){if (!_TODOS.TryGetValue(username, out var todos)){todos = new List<string>();}return Ok(todos);}[ProducesResponseType(StatusCodes.Status200OK)][ProducesResponseType(StatusCodes.Status404NotFound)][HttpDelete("{username}")]public IActionResult DeleteTodo(string username,[FromBody] TodoIndexRequest request){if (_TODOS.TryGetValue(username, out var todos)&& request.TodoIdx >= 0 && request.TodoIdx < todos.Count){todos.RemoveAt(request.TodoIdx);}return Ok();}}public class TodoRequest{public string Todo { get; set; }}public class TodoIndexRequest{public int TodoIdx { get; set; }}}
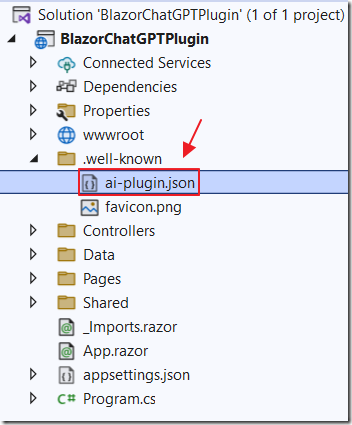
Finally, add a folder named .well-known and a ai-plugin.json file with the following contents:
{"schema_version": "v1","name_for_human": "Blazor TODO Plugin (no auth)","name_for_model": "blazortodo","description_for_human": "Plugin for managing a TODO list, you can add, remove and view your TODOs.","description_for_model": "Plugin for managing a TODO list, you can add, remove and view your TODOs.","auth": {"type": "none"},"api": {"type": "openapi","url": http://localhost:5288/swagger/v1/swagger.yaml,"is_user_authenticated": false},"logo_url": http://localhost:5288/.well-known/favicon.png,"contact_email": "contact@email.com","legal_info_url": "http://example.com/legal"}
Also copy the favicon.png file from the wwwroot directory to the .well-known directory.
Install the Plugin
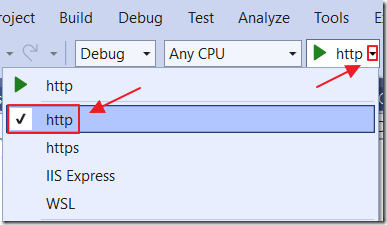
We will test this on localhost and access it from the OpenAI API.
It cannot work with the self-signed Visual Studio Express web browser cert, so we need to switch from https mode to http mode.

Hit F5 to start debugging.
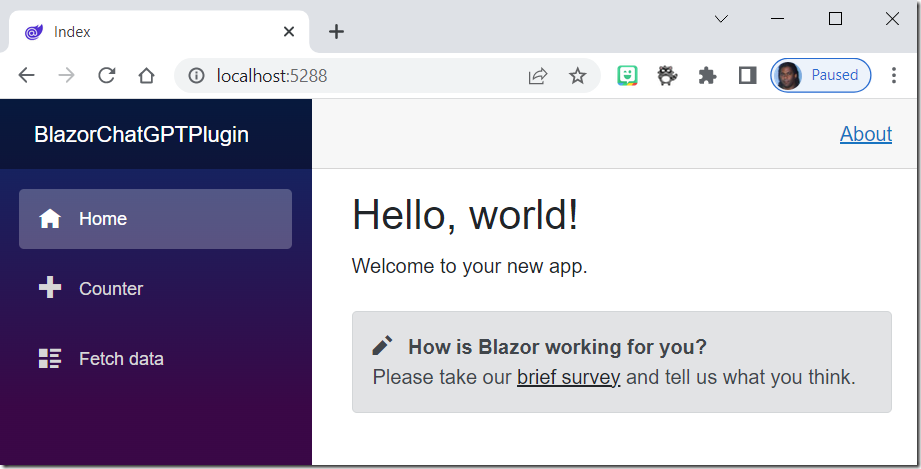
The application will start.
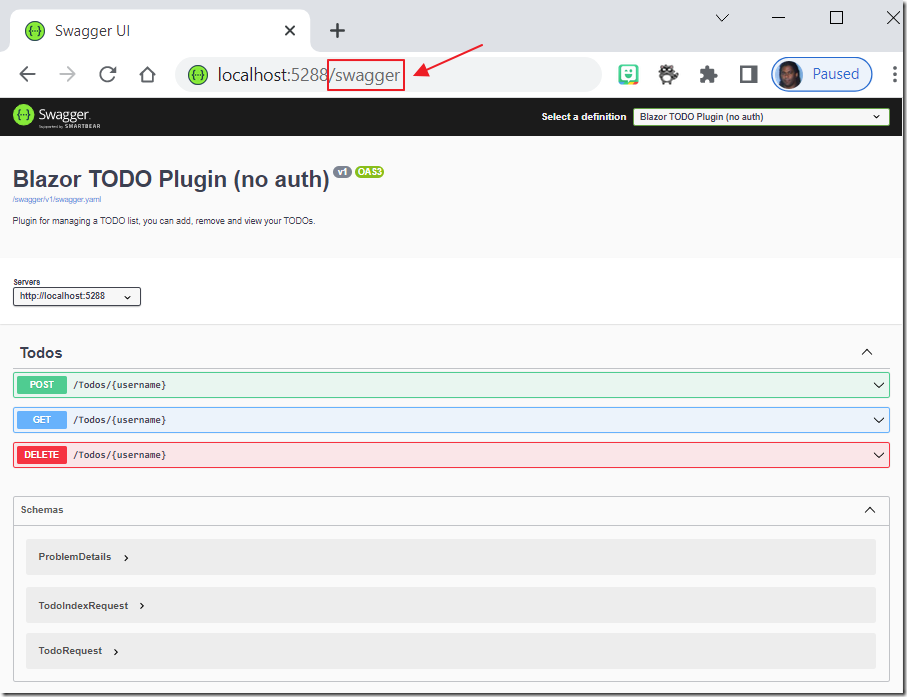
If you navigate the the swagger end-point you can see your methods.
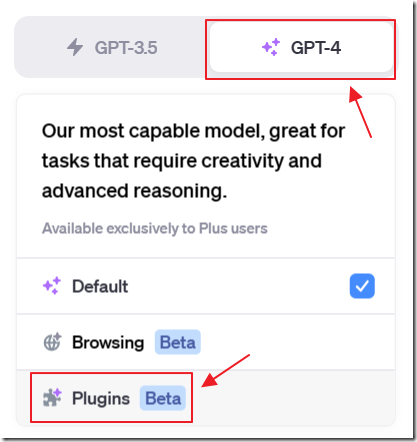
Open another web browser window and log into ChatGPT, select GPT-4 and Plugins.
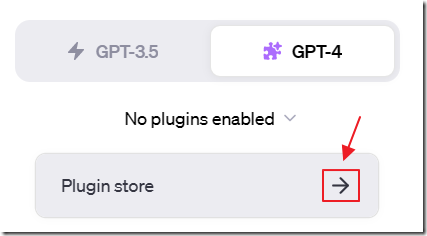
Select Plugin store.

Select Develop your own plugin.

Enter the url for the running Visual Studio application and click Find manifest file.
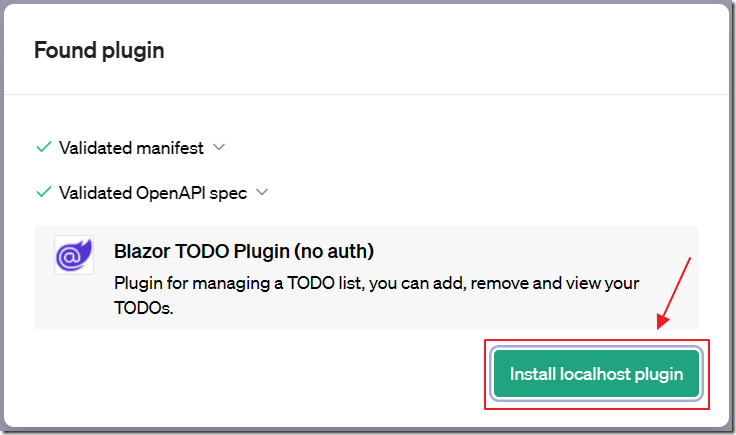
Click Next.
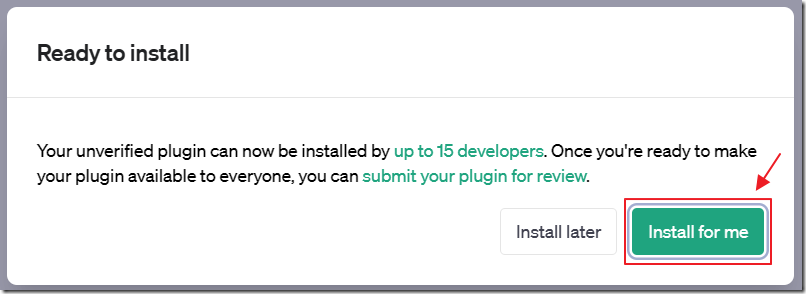
Click Install for me.
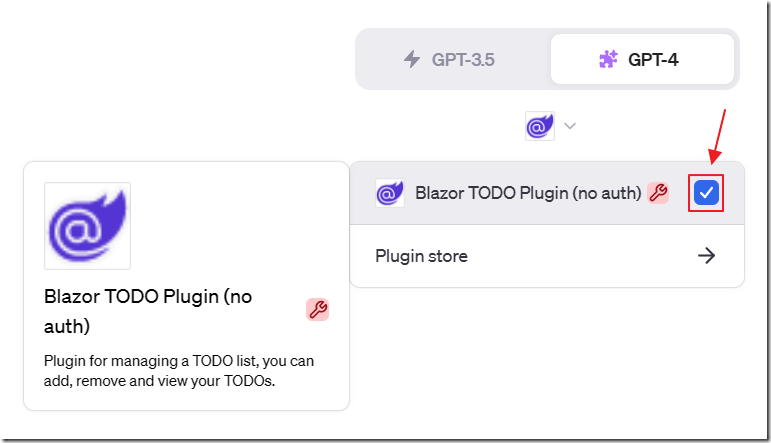
The plugin is now installed.
Ensure the checkbox next to the plugin is checked so it is enabled.

Enter a prompt that will ensure it will be triggered.

If the plugin is triggered ChatGPT will indicate this.

If we set breakpoints your breakpoints will be hit and you can inspect the messages that ChatGPT is sending to the plugin.

ChatGPT will take the response (if any) from the plugin and incorporate the information into its response to the user.

You can enter prompts that require multiple trips to the plugin.
For example, this prompt requires ChatGPT to insert a to do item and then retrieve all existing items.

We can see that the Get method just returns the raw data…

.. yet ChatGPT incorporates that raw data into a coherent response based on the original prompt from the user.
Links
How to Build a ChatGPT Weather Plugin with C# and ASP.NET Web API
Calling OpenAI GPT-3 From Microsoft Blazor
Build Your Own ChatGPT Client in Blazor
Download
The project is available on the Downloads page on this site.
You must have Visual Studio 2022 (or higher) installed to run the code.
