
11/28/2019 Admin
Deploying Your Blazor App Using GitHub Actions

You can easily deploy updates to your Blazor application to Azure using GitHub Actions.
Deploy Your Blazor Application To Azure
In the following example, we will assume you have already deployed your Blazor application to Azure.
Get The Azure Publishing Profile

The first step is to follow the directions here to download the Azure Publishing Profile for the Azure App Service, and use it to set the secret in GitHub.
Log into https://portal.azure.com/ and select the App Service you want to deploy to.
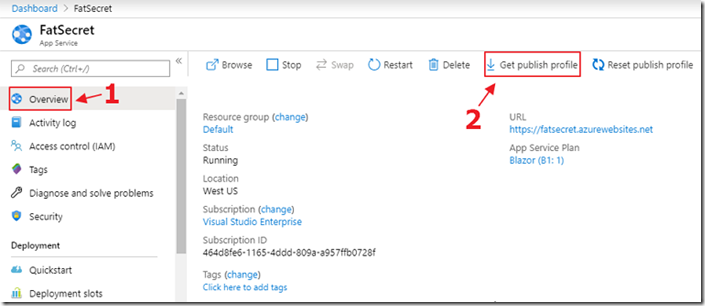
Select Get publish profile.
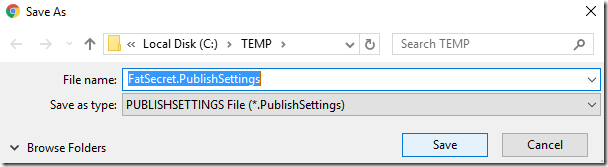
Download the file and open it in a text editor.
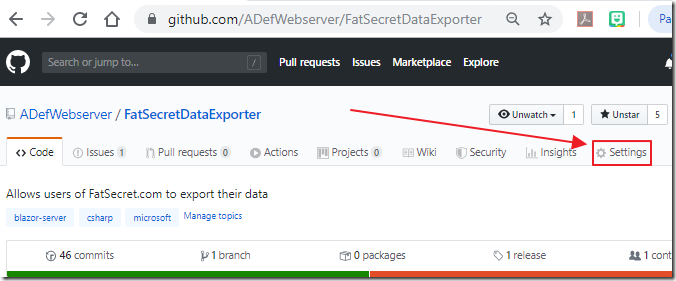
Log into the GitHub site you want to deploy from and select Settings.
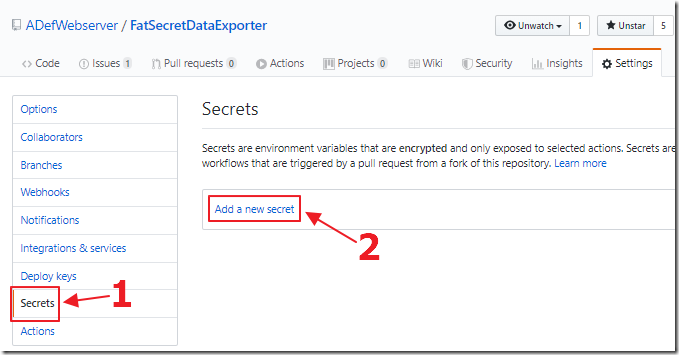
Select Secrets, then Add a new secret.
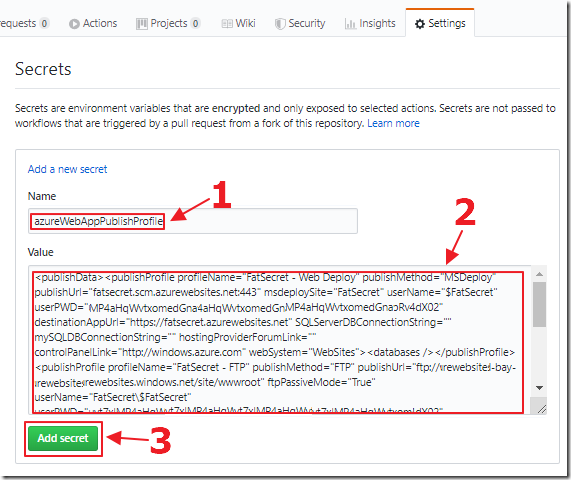
- Name the secret: azureWebAppPublishProfile
Paste in the contents of the Azure publishing profile in the Value box.Click Add secret.
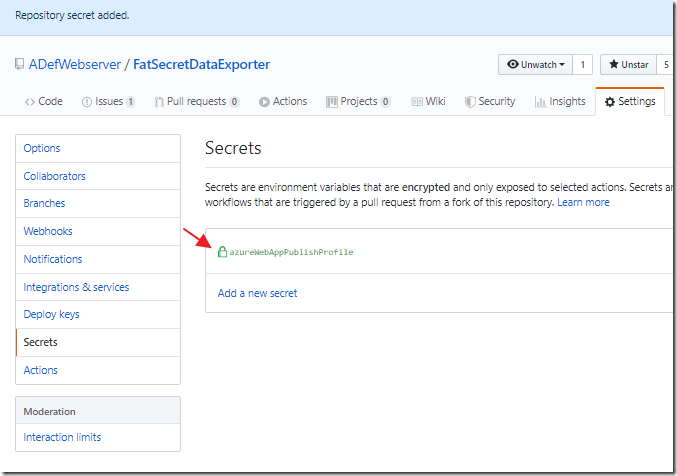
The secret will be created.
Create GitHub Action
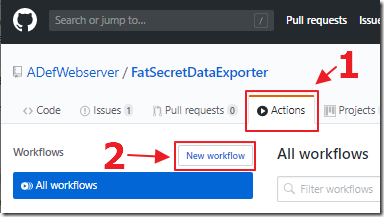
Select Actions, then New workflow.

Select, Set up a workflow yourself.
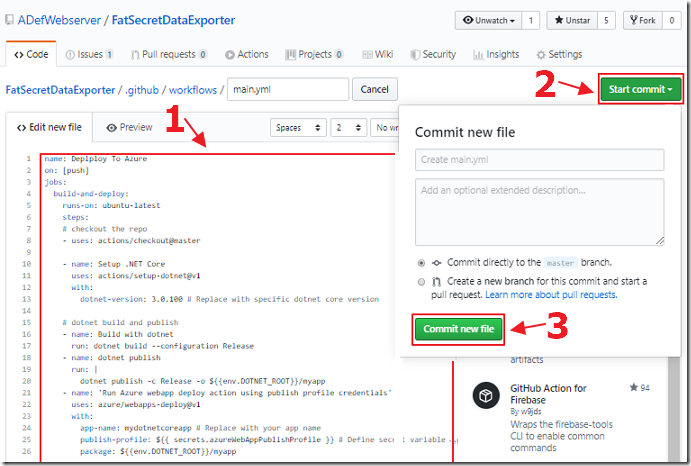
We start with the script we grab from this link.
We alter it so this is the final script:
name: Deploy To Azure
on:
  push:
    branches:
      - master
jobs:
  build-and-deploy:
    runs-on: ubuntu-latest
    steps:
    # checkout the repo
    - uses: actions/checkout@master

    - name: Setup .NET Core
      uses: actions/setup-dotnet@v1
      with:
        dotnet-version: 3.0.100 # Replace with specific dotnet core version

    # dotnet build and publish
    - name: Build with dotnet
      run: dotnet build --configuration Release
    - name: dotnet publish
      run: |
        dotnet publish -c Release -o ${{env.DOTNET_ROOT}}/myapp
    - name: 'Run Azure webapp deploy action using publish profile credentials'
      uses: azure/webapps-deploy@v1
      with:
        app-name: mydotnetcoreapp # Replace with your app name
        publish-profile: ${{ secrets.azureWebAppPublishProfile }}
        package: ${{env.DOTNET_ROOT}}/myapp
Commit the file.
(Note: You literally can keep the name as mydotnetcoreapp and it will still work)
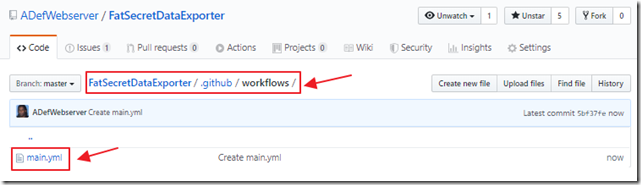
The file will show up in the /.github/workflows directory.
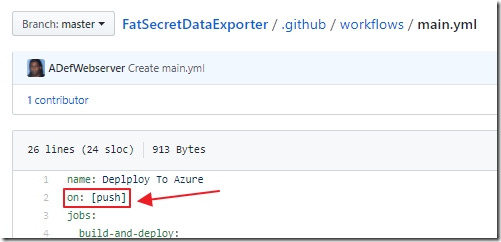
Note: The file is set to: on: [push]

We can always edit the file, by selecting it, and then selecting the edit button.
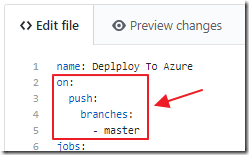
We could change it to only run when we push to the master branch.
We can see all the options at this link:
Now, every time we check in code to the master branch, it will be deployed to Azure.
Links
What happens to my app during deployment?
Investigating continuous deployment
How to get started with GitHub Actions for Azure (Video)
Workflow syntax for GitHub Actions