9/26/2019 Admin
Implementing State Management In Blazor
State Management in Blazor refers to the technique that you use to persist data between Blazor pages. Without state management, data would be lost.
State Management can be achieved by various methods including storing data in the database, or using packages such as Blazor-Fluxor.
In this article we will cover the AppState pattern that was introduced by the Microsoft Blazor team in the Blazing Pizza workshop.
The Issue – State Is Not Maintained
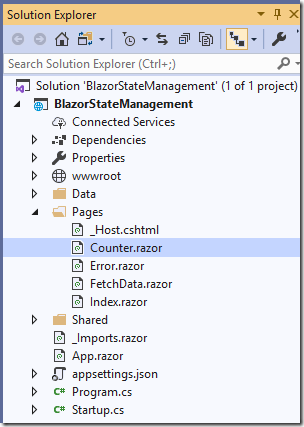
We start off with a Server side Blazor application.
We observe the code in the Counter.razor control by running the application, and navigating to that page.
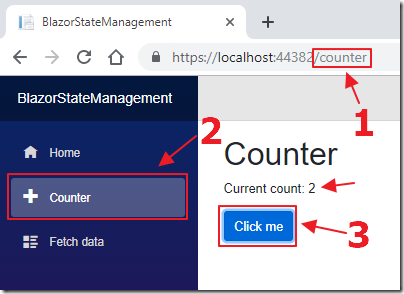
When we click the Click me button, we see the Current count increase.
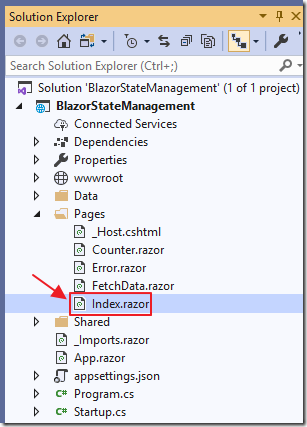
However, if we open the Index.razor page and add the following code, to add an instance of the Counter control:
<hr />
<Counter/>
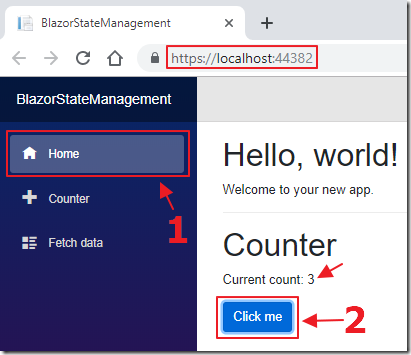
When we run the application, we can increase the counter, by clicking the Click me button…
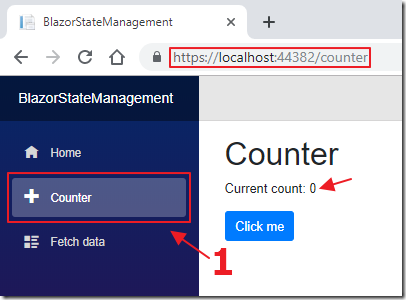
… however, when we navigate to the Counter page, that instance of the Counter returns to 0.
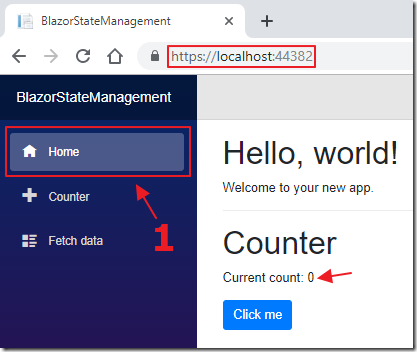
In addition, returning to the Index page, we see that it will also return the Current count to 0.
Implementing State Management
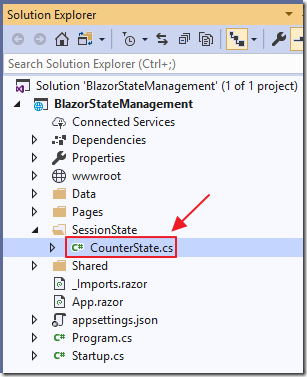
The first step is to add a class to hold the state.
We add a class called CounterState.cs using the following code:
using System;
using System.Collections.Generic;
using System.Linq;
using System.Threading.Tasks;
namespace BlazorStateManagement
{
    public class CounterState
    {
        public int CurrentCount { get; set; }
    }
}

Next we register this class, using Dependency Injection, by opening the Startup.cs file and adding the following code to the end of the ConfigureServices method:
            // ** SESSION STATE
            // Singleton usually means for all users,
            // where as scoped means for the current unit-of-work
            services.AddScoped<CounterState>();
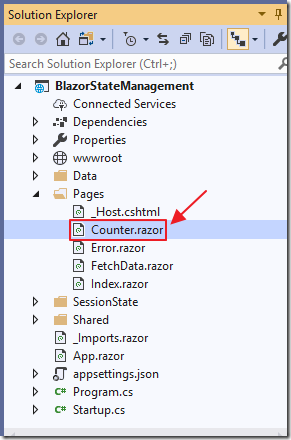
To consume the class, we open the Counter.razor page, and add the following code to the top of the code page:
@inject CounterState CounterState
We change the following code:
<p>Current count: @currentCount</p>
To:
<p>Current count: @CounterState.CurrentCount</p>
Finally we change the code section to the following:
@code {
    void IncrementCount()
    {
        // ** SESSION STATE
        int CurrentCount = CounterState.CurrentCount;
        CurrentCount++;
        // Set Current count on the Session State object
        CounterState.CurrentCount = CurrentCount;
    }
}
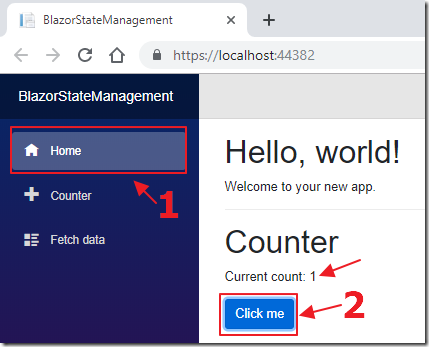
Now, when we run the application, we can increase the counter on the Index page…
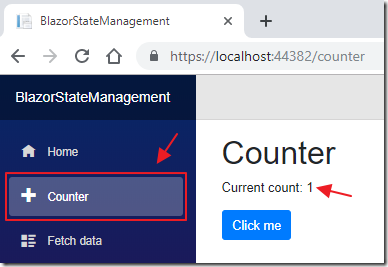
… and the value is persisted on the Counter page.
Advanced State Management Using EventCallback
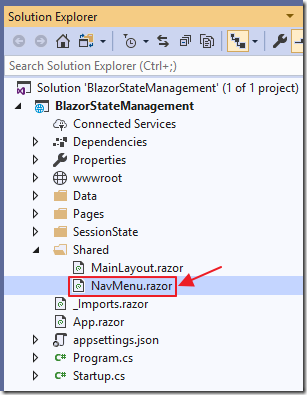
If we open the NavMenu.razor file and inject the state management class:
@inject CounterState CounterState
And the following markup:
<div>
    <p style="color:white">Counter State: @CounterState.CurrentCount</p>
</div>
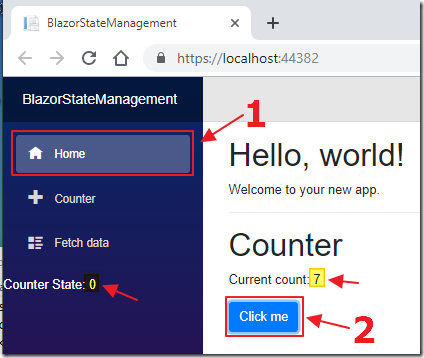
When we run the application and increase the counter, we see that the count is not increased in the NavMenu.razor control…
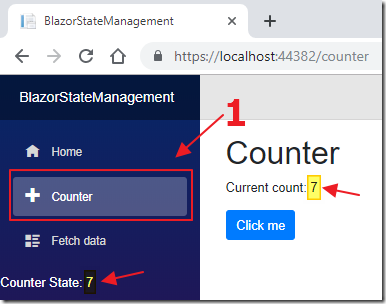
…until we navigate to a new page.
Essentially, the values in the state are being tracked, but, that value will not necessarily display in another control automatically.
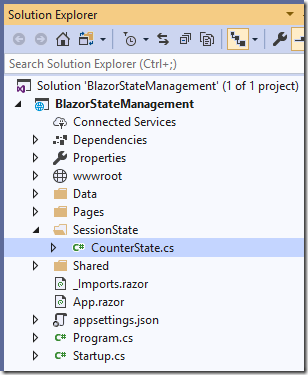
To resolve this, open the CounterState.cs file and replace the code of the class with the following code:
using System;
public class CounterState
{
    // _currentCount holds the current counter value
    // for the entire application
    private int _currentCount = 0;
    // StateChanged is an event handler other pages
    // can subscribe to
    public event EventHandler StateChanged;
    // This method will always return the current count
    public int GetCurrentCount()
    {
        return _currentCount;
    }
    // This method will be called to update the current count
    public void SetCurrentCount(int paramCount)
    {
        _currentCount = paramCount;
        StateHasChanged();
    }
    // This method will allow us to reset the current count
    public void ResetCurrentCount()
    {
        _currentCount = 0;
        StateHasChanged();
    }
    private void StateHasChanged()
    {
        // This will update any subscribers
        // that the counter state has changed
        // so they can update themselves
        // and show the current counter value
        StateChanged?.Invoke(this, EventArgs.Empty);
    }
}
Essentially we are creating an Event Handler that will allow other controls to subscribe to it, so that they will be notified when tracked values change. In addition, we are adding methods that can be consumed and invoked by other controls.
This allows us to centralize state logic code that is used in multiple places in our application.
Consume The Updated State Management Class
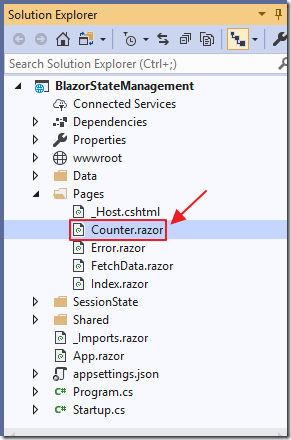
We now need to update the existing code to consume the updated State Management class.
Open the Counter.razor control and change all the code to the following:
@page "/counter"
@inject CounterState CounterState
<h1>Counter</h1>
<!-- We now call the GetCurrentCount() method -->
<!-- to get the current count -->
<p>Current count: @CounterState.GetCurrentCount()</p>
<button class="btn btn-primary"
        @onclick="IncrementCount">
    Click me
</button>
<!-- Add a button to reset the current count -->
<!-- that calls the CounterState class directly -->
<button class="btn btn-primary"
        @onclick="CounterState.ResetCurrentCount">
    Reset Count
</button>
@code {
    void IncrementCount()
    {
        // Call the GetCurrentCount() method
        // to get the current count
        int CurrentCount = CounterState.GetCurrentCount();
        // Increase the count
        CurrentCount++;
        // Set Current count on the Session State object
        CounterState.SetCurrentCount(CurrentCount);
    }
}
This demonstrates how a control can consume and invoke the new methods in the State Management class.
This control does not need to subscribe to the newly added Event Handler because this control will update itself automatically each time the button is clicked to increase the counter.
However, this is not necessarily true for other controls…
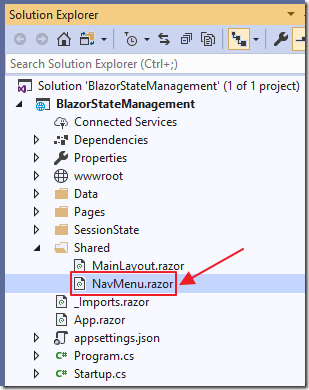
Next, open the NavMenu.razor control and change the DIV that displays the counter state to the following:
<div>
    <!-- We now call the GetCurrentCount() method -->
    <!-- to get the current count -->
    <p style="color:white">
        Counter State: @CounterState.GetCurrentCount()
    </p>
</div>
This will display the latest value of the counter, however, it will still not update automatically.
We now need to add code to subscribe to the Event Handler we added to the State Management class.
Add the following code to the top of the control:
@implements IDisposable
This is added because we will add code, in the next step, that will properly dispose of the subscription we create, so that we do not have a memory leak.
Add the following code to the @code section of the page:
    // This method is called when the control is initialized
    protected override void OnInitialized()
    {
        // Subscribe to the StateChanged EventHandler
        CounterState.StateChanged +=
        OnCounterStateAdvancedStateChanged;
    }
    // This method is fired when the CounterState object
    // invokes its StateHasChanged() method
    // This will cause this control to invoke its own
    // StateHasChanged() method refreshing the page
    // and displaying the updated counter value
    void OnCounterStateAdvancedStateChanged(
        object sender, EventArgs e) => StateHasChanged();
    void IDisposable.Dispose()
    {
        // When this control is disposed of
        // unsubscribe from the StateChanged EventHandler
        CounterState.StateChanged -=
        OnCounterStateAdvancedStateChanged;
    }
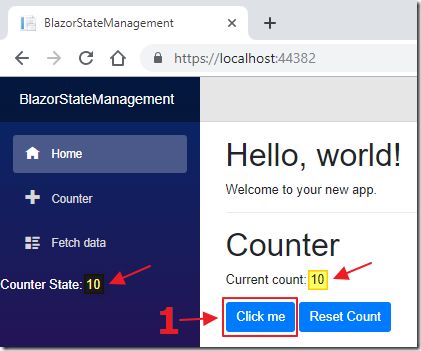
Now, when we run the application, the counter value is always in sync.
We can also now reset the counter by clicking the Reset Count button.
Links
Refactor State Management (Blazing Pizza Workshop)
Steve Sanderson discusses EventCallback and StateChanged in Blazor State Management
Download
The project is available on the Downloads page on this site.
You must have Visual Studio 2019 Version 16.3 (or higher) installed to run the code.
