1/15/2024 Admin
Godot Github Source Control
This explains how to use Github with Godot.

Open a Godot 4 file and select Version Control/Create Version Control metadata…

Select Git then OK.
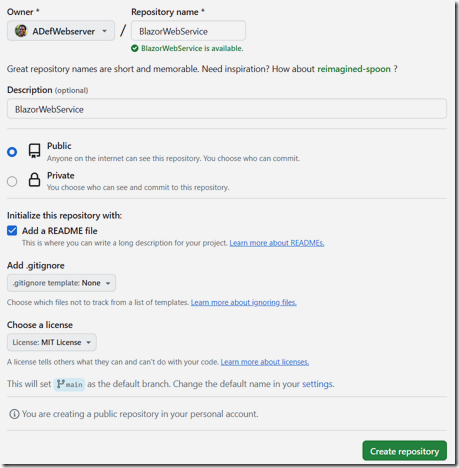
Go to https://Github.com and create a repository.
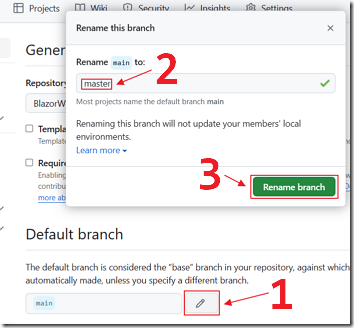
(Note: Due to a limitation with the plug-in you have to make the default branch called “master” (huge sigh))
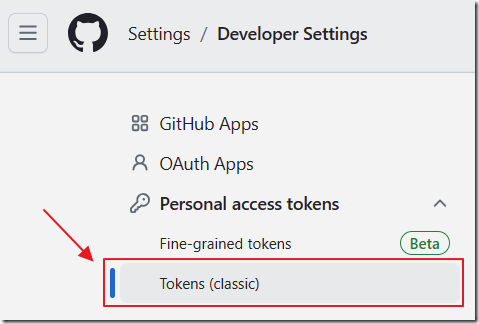
Create a PAT by going here: https://github.com/settings/tokens
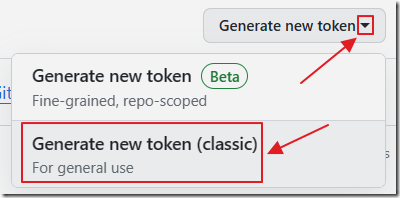
Select classic token.
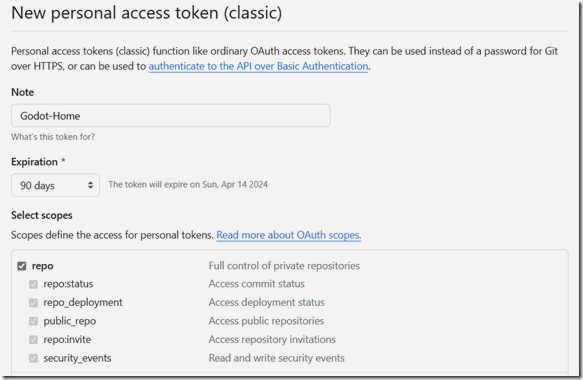
Set the scope to repo.

Copy the token that will be created.
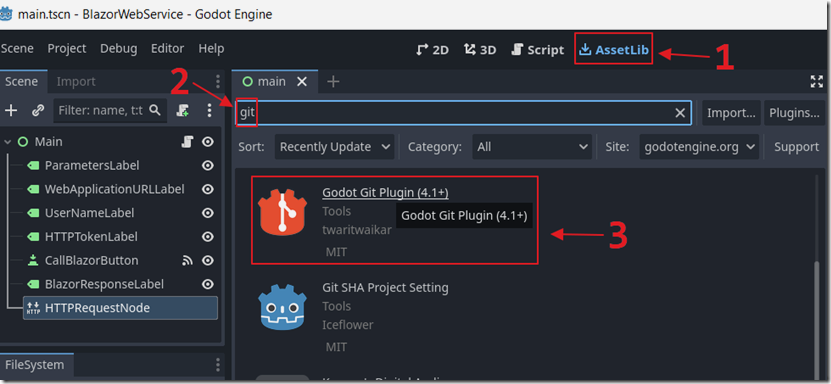
Back in Godot, select AssetLib and search for git.
Select Godot Git Plugin (4.1+)
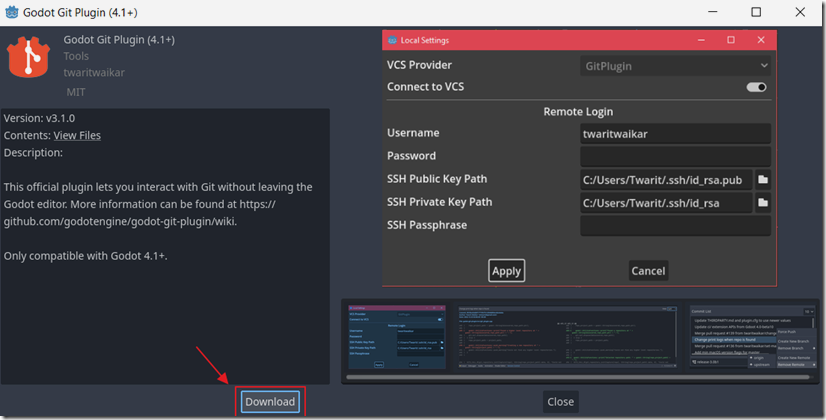
Click Download.
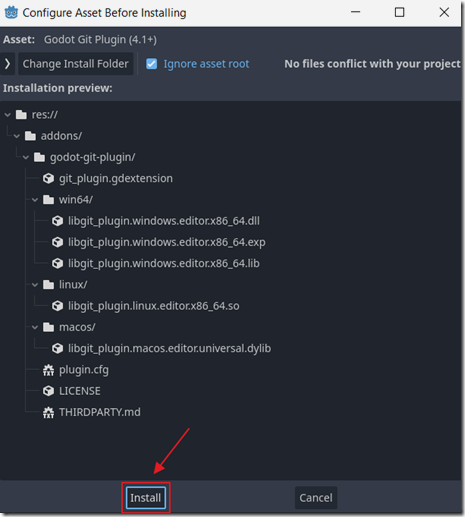
Click Install.

Click OK.

Select Version Control/Version Control Settings…
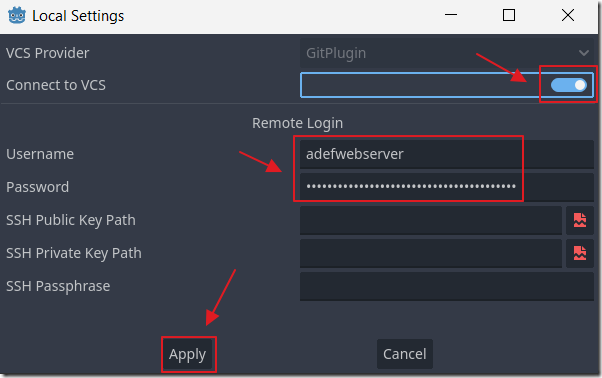
Enter your Github username for Username and the token created earlier for the Password.
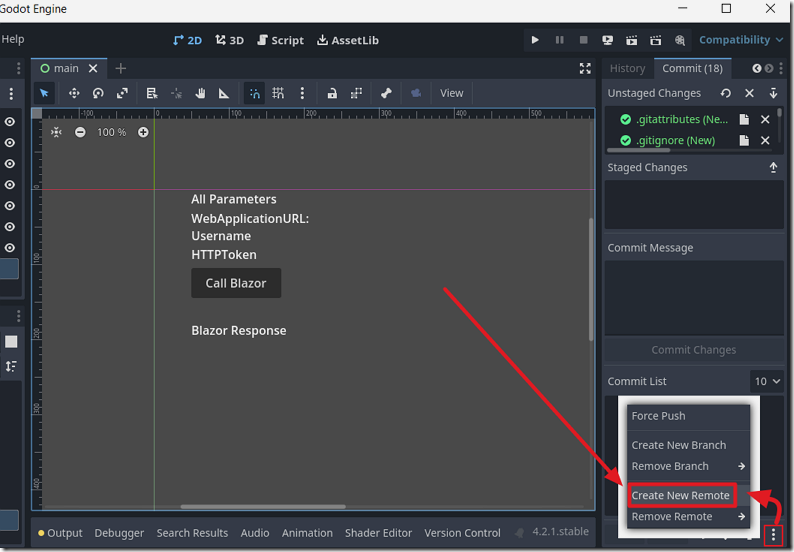
Select Create New Remote.
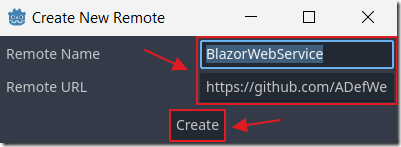
Enter the Remote Name and Remote URL.
Note: for Remote URL use this format: https://github.com/<organization>/<repository>
(For example: https://github.com/ADefWebserver/BlazorWebService)
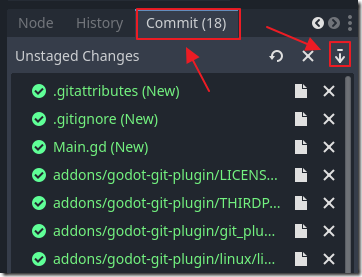
Select the Commit tab and click the Stage Changes button.
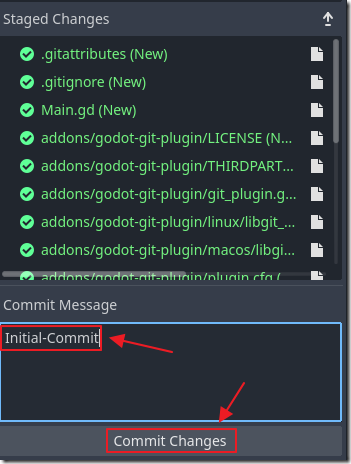
Enter a Commit Message for the commit and click Commit Changes.
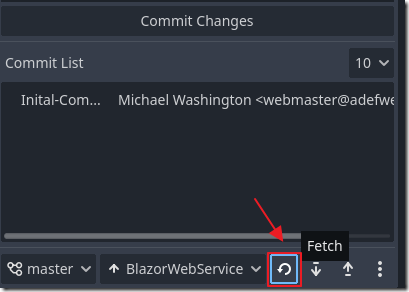
Click the Fetch button.
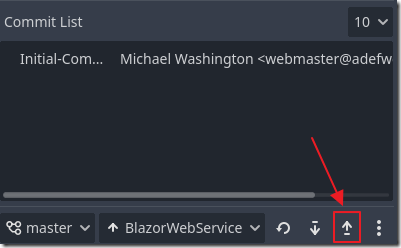
Click the Push button.
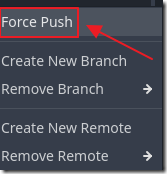
If you get any errors do a Force Push.
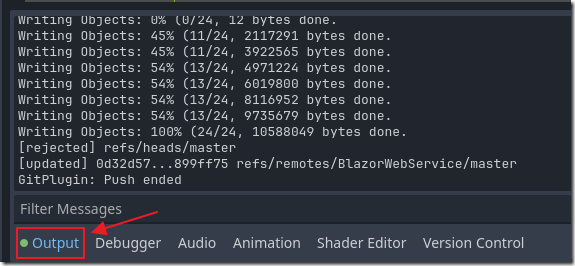
You can see the status on the Output screen.
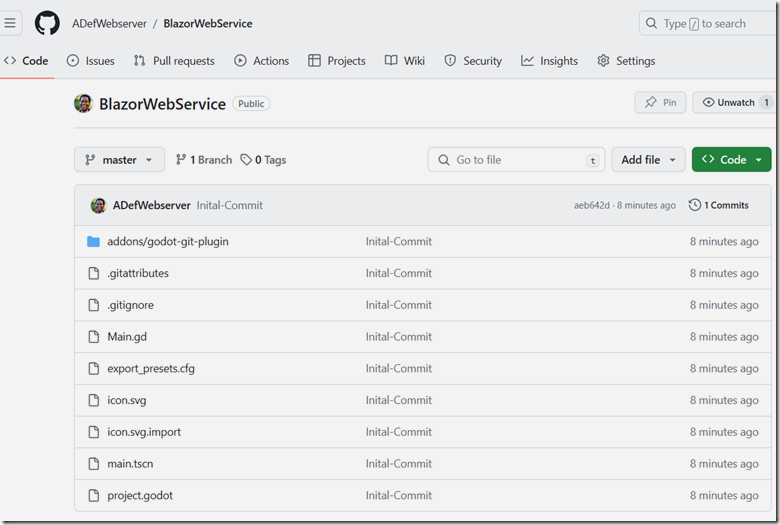
Return to Github to see the files.
