
11/25/2019 Admin
Creating Reusable Custom Blazor Controls
You can easily create re-usable custom controls for your Blazor applications even if they contain assets such as JavaScript. In this example we will create a reusable Rich Text Editor control.
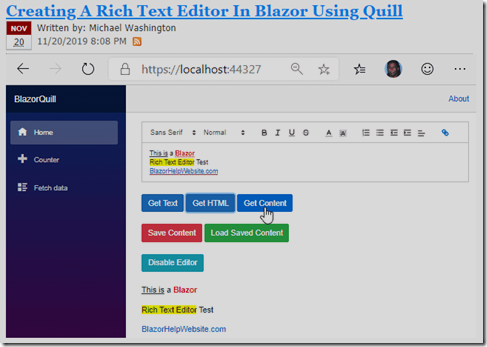
We will start by adapting the code from the article Creating A Rich Text Editor In Blazor Using Quill.
Features Of The Blazor Quill Rich Text Editor Custom Control
The primary benefit of converting the Blazor Quill Rich Text Editor to a custom reusable control, is that it allows us to easily consume it and place multiple instances of it on a single page in our Blazor application.
Also, it will allow us to implement the following features:
- Exports editor contents in Text, HTML, and Quill’s native Delta format
- Allows initial content to be set declaratively in the control or programmatically
- Provides a read only mode, suitable for displaying Quill’s native Delta format
- Allows custom toolbars to be defined
- Allows custom themes
- Has an inline editor mode that also allows custom toolbars
Create The Custom Control Project

In Visual Studio 2019 (or later) create a Server Side Blazor project called BlazorQuillControl.
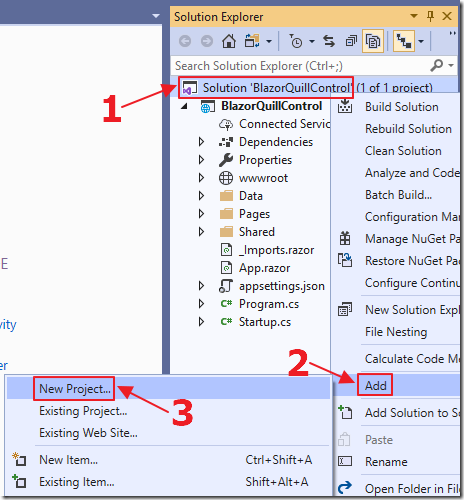
Right-click on the Solution in the Solution Explorer, and select Add then New Project.
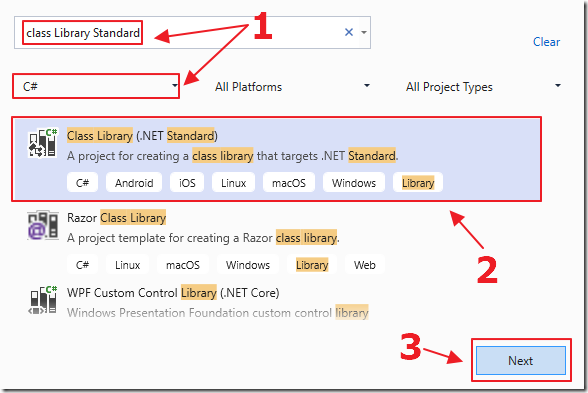
Search for and select Class Library (.NET Standard).
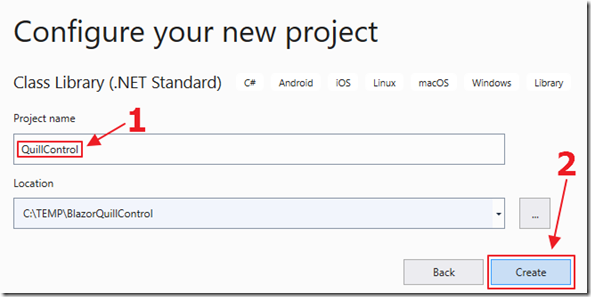
Call it QuillControl.
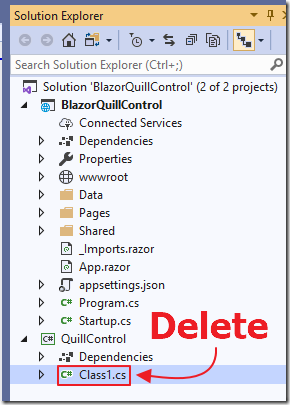
When the project is added to the solution, delete the Class1.cs file.
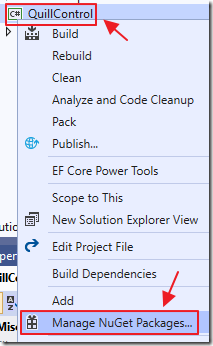
Right-click on the QuillControl project and select Manage NuGet Packages.
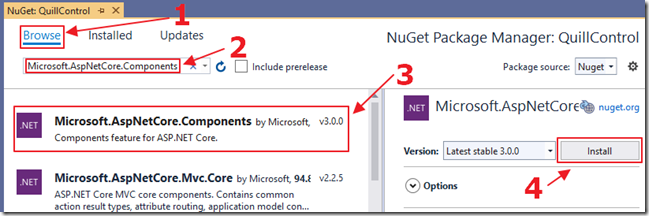
Search for, and install, the following packages:
- Microsoft.AspNetCore.Components
- Microsoft.AspNetCore.Components.Web
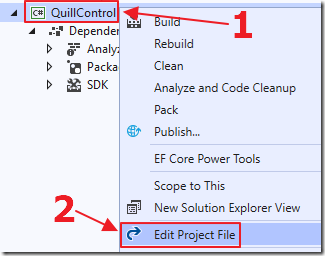
Right-click on the QuillControl project and select Edit Project File.
Change the file to the following:
<Project Sdk="Microsoft.NET.Sdk.Razor">
  <PropertyGroup>
    <TargetFramework>netstandard2.0</TargetFramework>
    <RazorLangVersion>3.0</RazorLangVersion>
  </PropertyGroup>
  <ItemGroup>
    <PackageReference Include="Microsoft.AspNetCore.Components" Version="3.0.0" />
    <PackageReference Include="Microsoft.AspNetCore.Components.Web" Version="3.0.0" />
  </ItemGroup>
</Project>
Save and close the file.
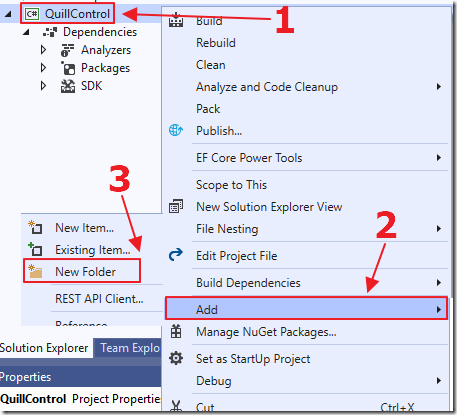
Right-click on the QuillControl project and select Add then New Folder.
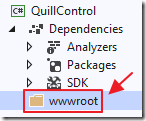
Name the folder wwwroot.
Create The Custom Control

in the wwwroot folder, add a JavaScript file called BlazorQuill.js with the following code:
(function () {
    window.QuillFunctions = {
        createQuill: function (
            quillElement, toolBar, readOnly,
            placeholder, theme, debugLevel) {
            var options = {
                debug: debugLevel,
                modules: {
                    toolbar: toolBar
                },
                placeholder: placeholder,
                readOnly: readOnly,
                theme: theme
            };
            new Quill(quillElement, options);
        },
        getQuillContent: function(quillElement) {
            return JSON.stringify(quillElement.__quill.getContents());
        },
        getQuillText: function(quillElement) {
            return quillElement.__quill.getText();
        },
        getQuillHTML: function(quillElement) {
            return quillElement.__quill.root.innerHTML;
        },
        loadQuillContent: function(quillElement, quillContent) {
            content = JSON.parse(quillContent);
            return quillElement.__quill.setContents(content, 'api');
        },
        enableQuillEditor: function (quillElement, mode) {
            quillElement.__quill.enable(mode);
        }
    };
})();
This custom code will communicate with the QuillJs component.
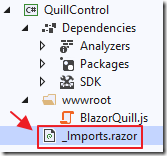
Add a file called _Imports.razor with the following code:
@using Microsoft.JSInterop
This provides JavaScript Interop support.
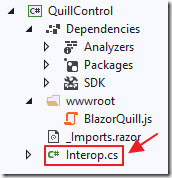
Add a file called Interop.cs with the following code:
using Microsoft.AspNetCore.Components;
using Microsoft.JSInterop;
using System.Threading.Tasks;
namespace QuillControl
{
    public static class Interop
    {
        internal static ValueTask<object> CreateQuill(
            IJSRuntime jsRuntime,
            ElementReference quillElement,
            ElementReference toolbar,
            bool readOnly,
            string placeholder,
            string theme,
            string debugLevel)
        {
            return jsRuntime.InvokeAsync<object>(
                "QuillFunctions.createQuill",
                quillElement, toolbar, readOnly,
                placeholder, theme, debugLevel);
        }
        internal static ValueTask<string> GetText(
            IJSRuntime jsRuntime,
            ElementReference quillElement)
        {
            return jsRuntime.InvokeAsync<string>(
                "QuillFunctions.getQuillText",
                quillElement);
        }
        internal static ValueTask<string> GetHTML(
            IJSRuntime jsRuntime,
            ElementReference quillElement)
        {
            return jsRuntime.InvokeAsync<string>(
                "QuillFunctions.getQuillHTML",
                quillElement);
        }
        internal static ValueTask<string> GetContent(
            IJSRuntime jsRuntime,
            ElementReference quillElement)
        {
            return jsRuntime.InvokeAsync<string>(
                "QuillFunctions.getQuillContent",
                quillElement);
        }
        internal static ValueTask<object> LoadQuillContent(
            IJSRuntime jsRuntime,
            ElementReference quillElement,
            string Content)
        {
            return jsRuntime.InvokeAsync<object>(
                "QuillFunctions.loadQuillContent",
                quillElement, Content);
        }
        internal static ValueTask<object> EnableQuillEditor(
            IJSRuntime jsRuntime,
            ElementReference quillElement,
            bool mode)
        {
            return jsRuntime.InvokeAsync<object>(
                "QuillFunctions.enableQuillEditor",
                quillElement, mode);
        }
    }
}
This code will sit between the Blazor code and the JavaScript code created earlier.
These methods allow the Blazor C# code to communicate with the JavaScript code.
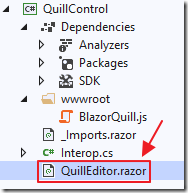
Finally, add a file called QuillEditor.razor with the following code:
@inject IJSRuntime JSRuntime
<div @ref="@ToolBar">
    @ToolbarContent
</div>
<div @ref="@QuillElement">
    @EditorContent
</div>
@code {
    [Parameter]
    public RenderFragment EditorContent { get; set; }
    [Parameter]
    public RenderFragment ToolbarContent { get; set; }
    [Parameter]
    public bool ReadOnly { get; set; }
        = false;
    [Parameter]
    public string Placeholder { get; set; }
        = "Compose an epic...";
    [Parameter]
    public string Theme { get; set; }
        = "snow";
    [Parameter]
    public string DebugLevel { get; set; }
        = "info";
    private ElementReference QuillElement;
    private ElementReference ToolBar;
    protected override async Task
        OnAfterRenderAsync(bool firstRender)
    {
        if (firstRender)
        {
            await Interop.CreateQuill(
                JSRuntime,
                QuillElement,
                ToolBar,
                ReadOnly,
                Placeholder,
                Theme,
                DebugLevel);
        }
    }
    public async Task<string> GetText()
    {
        return await Interop.GetText(
            JSRuntime, QuillElement);
    }
    public async Task<string> GetHTML()
    {
        return await Interop.GetHTML(
            JSRuntime, QuillElement);
    }
    public async Task<string> GetContent()
    {
        return await Interop.GetContent(
            JSRuntime, QuillElement);
    }
    public async Task LoadContent(string Content)
    {
        var QuillDelta =
            await Interop.LoadQuillContent(
                JSRuntime, QuillElement, Content);
    }
    public async Task EnableEditor(bool mode)
    {
        var QuillDelta =
            await Interop.EnableQuillEditor(
                JSRuntime, QuillElement, mode);
    }
}
This is the reusable control that will be consumed by the Blazor application.
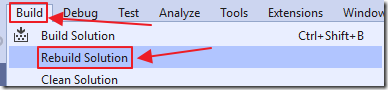
Build the solution.

It should build without errors.
Reference The Blazor Control
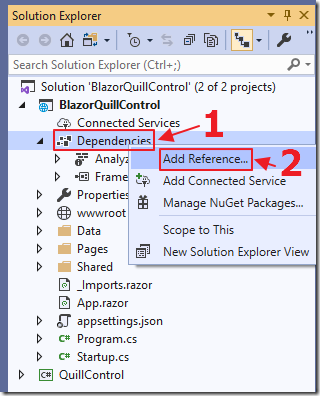
In the BlazorQuillControl project, right-click on the Dependencies node and select Add Reference.
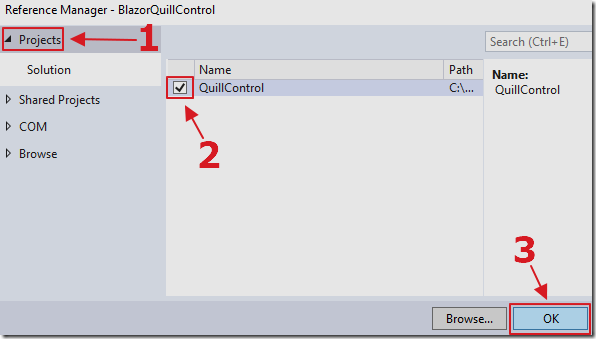
In the Reference Manager, select Project, then the QuillControl project and click OK to make a reference.
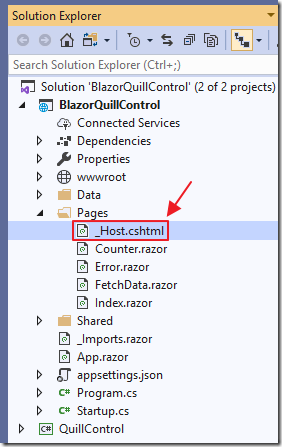
Open the _Host.cshtml file and add the following .css references to the Head section (above the bootstrap .css lines):
    <!-- Quill stylesheet -->
    <link href="//cdn.quilljs.com/1.3.6/quill.snow.css" rel="stylesheet">
    <link href="//cdn.quilljs.com/1.3.6/quill.bubble.css" rel="stylesheet">
Next, add the following lines to the Body section (below the blazor.server.js reference):
    <!-- Quill library -->
    <script src="https://cdn.quilljs.com/1.3.6/quill.js"></script>
    <script src="_content/QuillControl/BlazorQuill.js"></script>
Note that the BlazorQuill.js reference starts with _content.
This is how we indicate that the JavaScript file will come from a referenced assembly.
Consume The Blazor Control
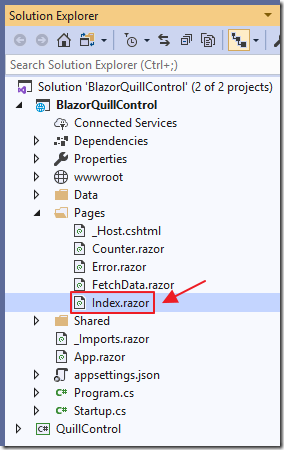
Open the Index.razor page, and replace all the code with the following code:
@page "/"
@using QuillControl
<QuillEditor @ref="@QuillHtml">
    <ToolbarContent>
    </ToolbarContent>
    <EditorContent>
        <h1>Hello World!</h1>
    </EditorContent>
</QuillEditor>
@code {

}
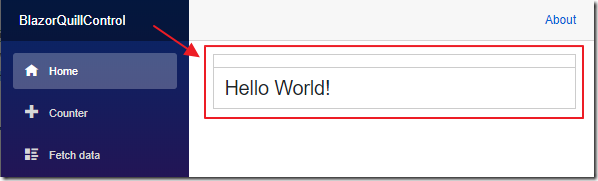
When you hit F5 in Visual Studio to run the project, you will see a editor control, with no toolbar, that displays Hello World!.
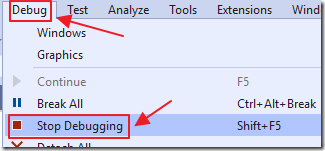
In Visual Studio, select Debug, then Stop Debugging.
Change the ToolBarContent tag to the following:
       <ToolbarContent>
            <select class="ql-header">
                <option selected=""></option>
                <option value="1"></option>
                <option value="2"></option>
                <option value="3"></option>
                <option value="4"></option>
                <option value="5"></option>
            </select>
            <span class="ql-formats">
                <button class="ql-bold"></button>
                <button class="ql-italic"></button>
                <button class="ql-underline"></button>
                <button class="ql-strike"></button>
            </span>
            <span class="ql-formats">
                <select class="ql-color"></select>
                <select class="ql-background"></select>
            </span>
            <span class="ql-formats">
                <button class="ql-list" value="ordered"></button>
                <button class="ql-list" value="bullet"></button>
            </span>
            <span class="ql-formats">
                <button class="ql-link"></button>
            </span>
        </ToolbarContent>
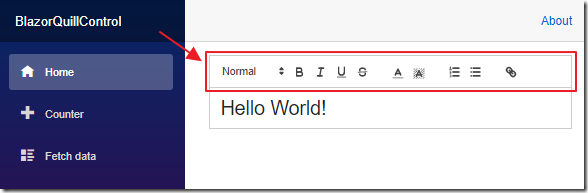
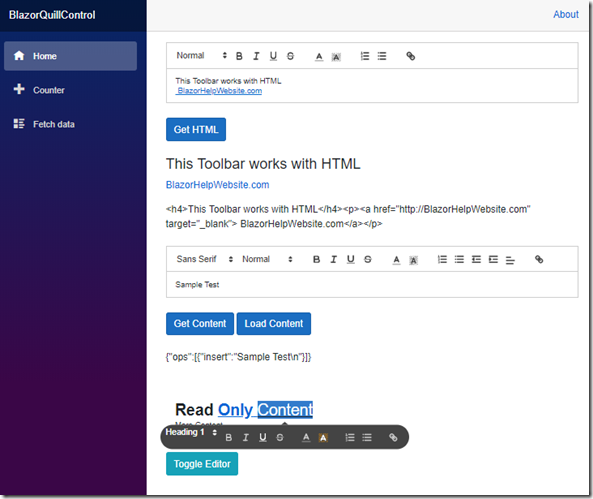
When we run the project, we see we now have a helpful Toolbar.
We can see all the options for customizing the Toolbar at the following link: https://quilljs.com/docs/modules/toolbar/.
We can change the EditorContent tag to the following:
    <EditorContent>
        <h4>This Toolbar works with HTML</h4>
        <a href="http://BlazorHelpWebsite.com">
        BlazorHelpWebsite.com</a>
    </EditorContent>
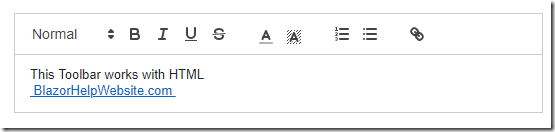
When we run the project we see that we can declaratively set the editor content…
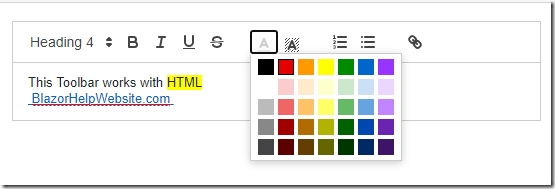
That can be altered using functions from the Toolbar.
Programmatically Retrieving Content
In the @code section of the page, add the following code:
    QuillEditor QuillHtml;
    string QuillHTMLContent;
    public async void GetHTML()
    {
        QuillHTMLContent = await this.QuillHtml.GetHTML();
        StateHasChanged();
    }
In the page markup, add the following:
<br />
<button class="btn btn-primary"
        @onclick="GetHTML">Get HTML</button>
<br />
<div>
    <br />
    @((MarkupString)QuillHTMLContent)
    @QuillHTMLContent
</div>
<br />
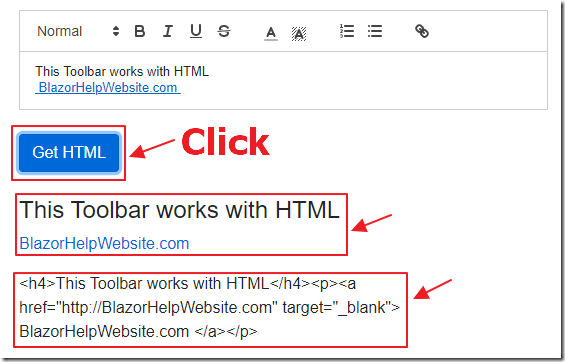
When we run the application, we can click the Get HTML button to display the contents of the editor as HTML on the page as well as display the raw HTML.

The diagram above shows the program flow.
Native Content
While it is possible to store and retrieve HTML content from the editor control, HTML is unable to capture all formatting that the editor control supports, for example centering text.
To support all the options, you will need to export and load content in the Quill control’s native Delta format.
Add the following markup code:
<QuillEditor @ref="@QuillNative"
             Placeholder="Enter non HTML format like centering...">
    <ToolbarContent>
        <span class="ql-formats">
            <select class="ql-font">
                <option selected=""></option>
                <option value="serif"></option>
                <option value="monospace"></option>
            </select>
            <select class="ql-size">
                <option value="small"></option>
                <option selected=""></option>
                <option value="large"></option>
                <option value="huge"></option>
            </select>
        </span>
        <span class="ql-formats">
            <button class="ql-bold"></button>
            <button class="ql-italic"></button>
            <button class="ql-underline"></button>
            <button class="ql-strike"></button>
        </span>
        <span class="ql-formats">
            <select class="ql-color"></select>
            <select class="ql-background"></select>
        </span>
        <span class="ql-formats">
            <button class="ql-list" value="ordered"></button>
            <button class="ql-list" value="bullet"></button>
            <button class="ql-indent" value="-1"></button>
            <button class="ql-indent" value="+1"></button>
            <select class="ql-align">
                <option selected=""></option>
                <option value="center"></option>
                <option value="right"></option>
                <option value="justify"></option>
            </select>
        </span>
        <span class="ql-formats">
            <button class="ql-link"></button>
        </span>
    </ToolbarContent>
</QuillEditor>
<br />
<button class="btn btn-primary"
        @onclick="GetContent">Get Content</button>
<button class="btn btn-primary"
        @onclick="LoadContent">Load Content</button>
<br />
<br />
<div>
    @QuillContent
</div>
<br />
<br />
Add the following code to the @code section:
    QuillEditor QuillNative;
    string QuillContent;
    public async void GetContent()
    {
        QuillContent = await this.QuillNative.GetContent();
        StateHasChanged();
    }
    public async void LoadContent()
    {
        await this.QuillNative.LoadContent(QuillContent);
        StateHasChanged();
    }
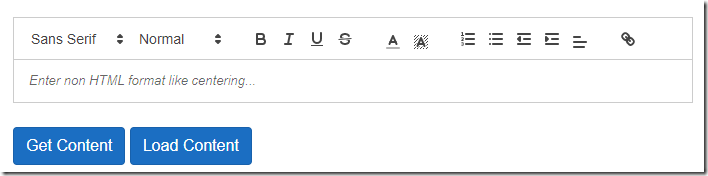
When we run the application we see that there is custom placeholder text that was set using the Placeholder property.
We also see that there are toolbar options such as centering and indenting that are not supported by HTML.
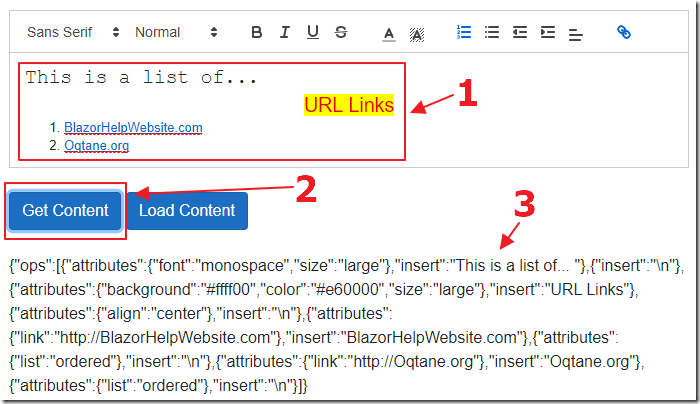
We can enter rich formatting and click the Get Content button, that displays the content in the native Delta format and also saves it to memory (in the QuillContent variable).
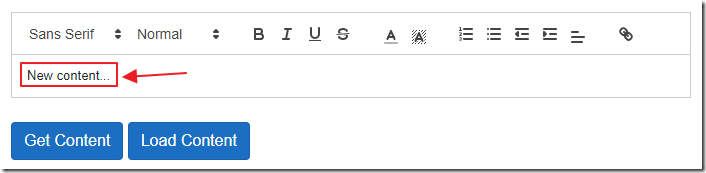
We can enter new content…
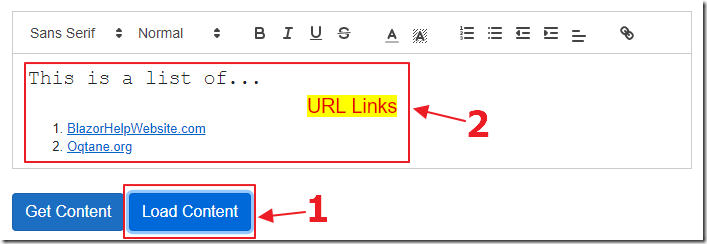
… when we click the Load Content button, the content in the native Delta format comes back.
Display Read Only And Inline Editing
HTML content can be displayed on any page when using the Blazor (MarkupString) tag, however, the Quill native Delta format requires the Quill editor to display.
When you want the content displayed in a read only format, you can set the ReadOnly property on the control, and set the theme to bubble.
Add the following markup code:
<QuillEditor @ref="@QuillReadOnly"
             ReadOnly="true"
             Theme="bubble"
             DebugLevel="log">
    <ToolbarContent>
        <select class="ql-header">
            <option selected=""></option>
            <option value="1"></option>
            <option value="2"></option>
            <option value="3"></option>
            <option value="4"></option>
            <option value="5"></option>
        </select>
        <span class="ql-formats">
            <button class="ql-bold"></button>
            <button class="ql-italic"></button>
            <button class="ql-underline"></button>
            <button class="ql-strike"></button>
        </span>
        <span class="ql-formats">
            <select class="ql-color"></select>
            <select class="ql-background"></select>
        </span>
        <span class="ql-formats">
            <button class="ql-list" value="ordered"></button>
            <button class="ql-list" value="bullet"></button>
        </span>
        <span class="ql-formats">
            <button class="ql-link"></button>
        </span>
    </ToolbarContent>
    <EditorContent>
        @((MarkupString)@QuillReadOnlyContent)
    </EditorContent>
</QuillEditor>
<br />
<button class="btn btn-info"
        @onclick="ToggleQuillEditor">Toggle Editor</button>
Add the following code to the @code section:
    QuillEditor QuillReadOnly;
    string QuillReadOnlyContent =
        @"<span><b>Read Only</b> <u>Content</u></span>";
    bool mode = false;
        async Task ToggleQuillEditor()
    {
        mode = (mode) ? false : true;
        await this.QuillReadOnly.EnableEditor(mode);
    }
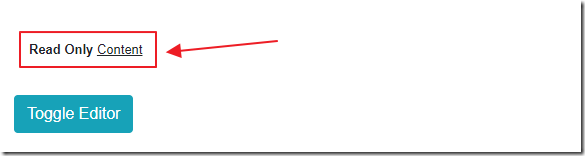
When we run the application, we see that the content (this can be Text, HTML, or Quill native Delta content), is displayed in read only mode.
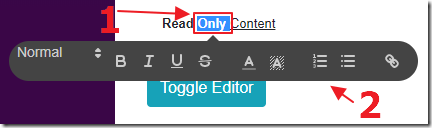
If we click the Toggle Editor button, the content becomes editable.
Clicking on content, brings up the formatting toolbar defined in the markup for the control.
Blazored: Text Editor
A version of this code will be hosted in the Blazored GitHub project at: Blazored/TextEditor.
This project will also have links to allow you to pull down a NuGet package to easily include the code in your Blazor applications.
Links
Create an RCL with static assets
Download
The project is available on the Downloads page on this site.
You must have Visual Studio 2019 (or higher) installed to run the code.