
11/28/2019 Admin
Deploying Your Blazor App Using Azure Pipelines
You can easily deploy updates to your Blazor application to Azure using Azure Pipelines.
Deploy Your Blazor Application To Azure
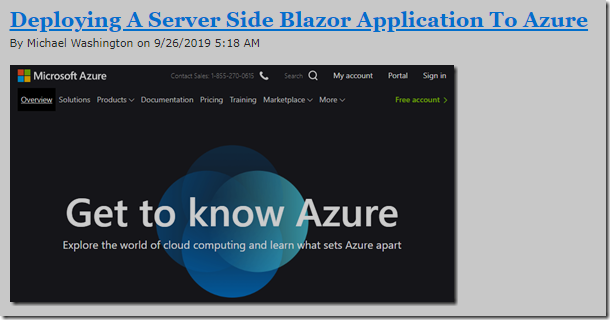
In the following examples, we will assume you have already deployed your Blazor application to Azure.
Azure Pipelines
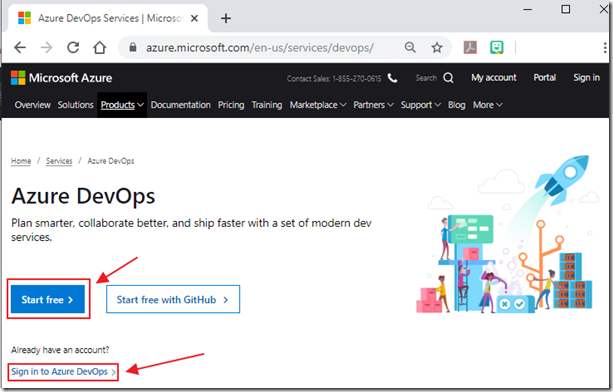
To deploy your application using Azure Pipelines, go to: https://azure.microsoft.com/en-us/services/devops/ and either sign-up (its free!) or sign in.
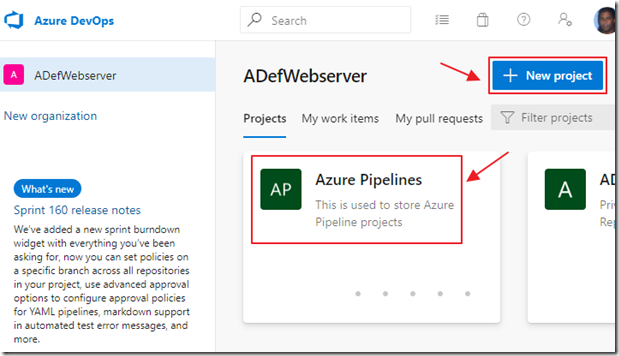
Create a new project, or select an existing one.
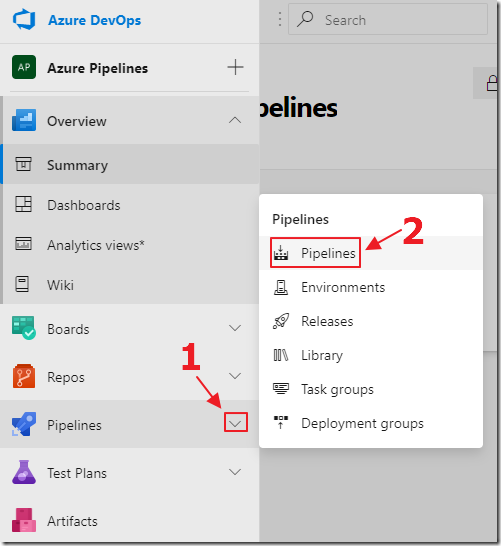
Select Pipelines.
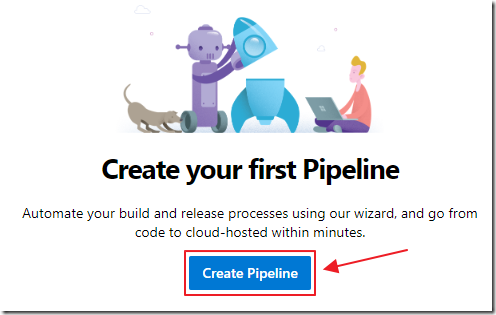
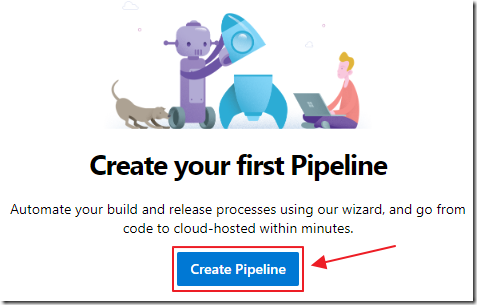
Create a new Pipeline.
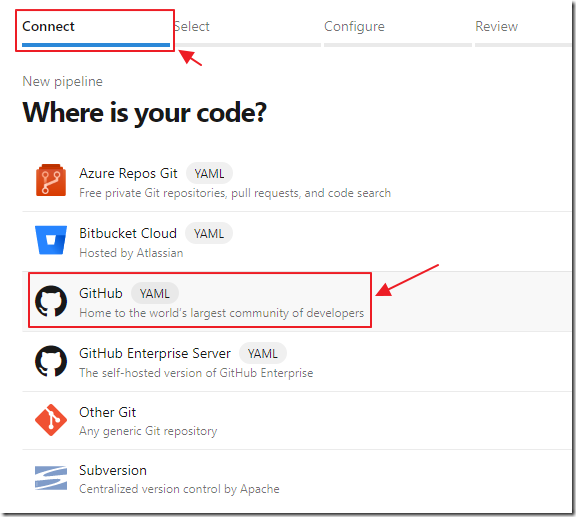
At this point you can select the location of your source code, in this example we will assume your code is in GitHub.
Select GitHub.
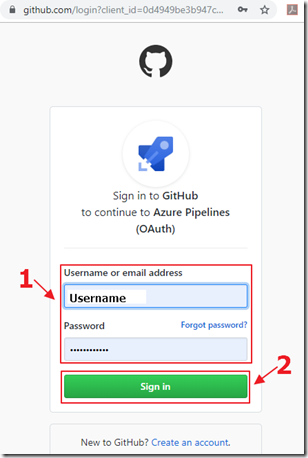
Sign into GitHub.
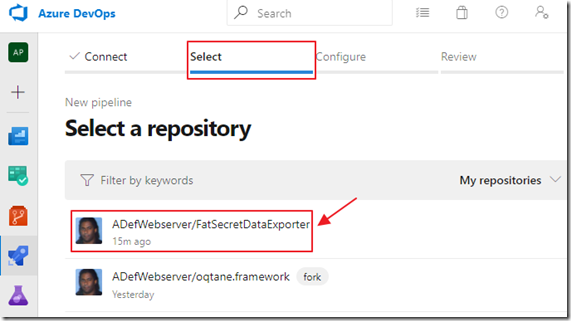
Select a GitHub repository.
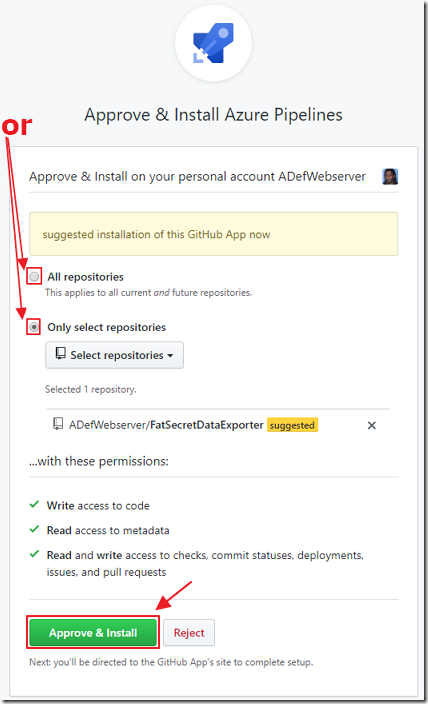
The Azure Pipelines application needs to be installed in your account in GitHub.
You will be asked to provide access to either all your GitHub repositories, or only the selected one.

Note: If you go into your GitHub Personal Settings (https://github.com/settings/installations) you will see there is now an Azure Pipelines app installed.
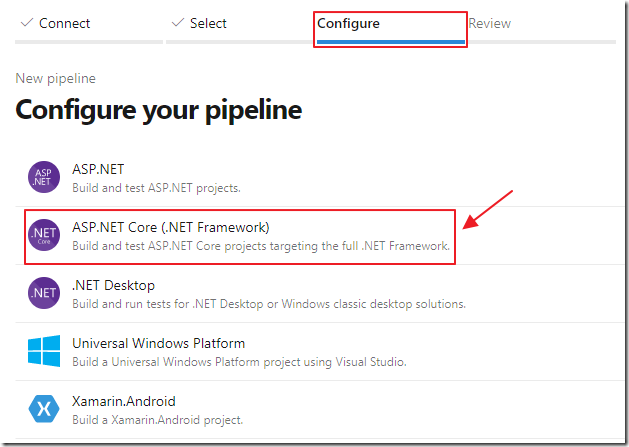
Back on the Dev Ops site, select the ASP.NET Core .yaml template for Configure.
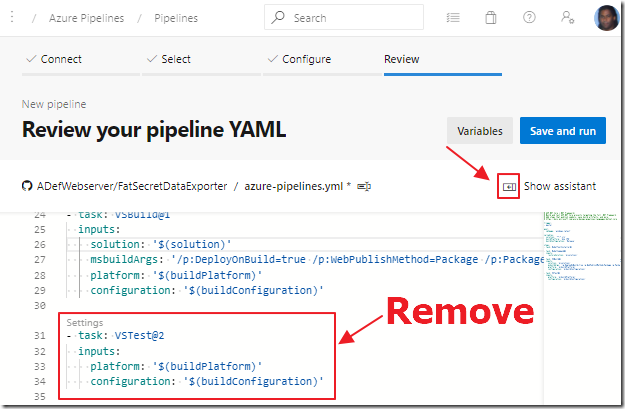
The .yaml template will open.
Unless you have unit tests in your source code project or solution, remove the VSTest task.
Either way, click once at the bottom of the template, so that the content, inserted in the next step, will appear at the bottom.
If the assistant is not showing, click Show assistant.
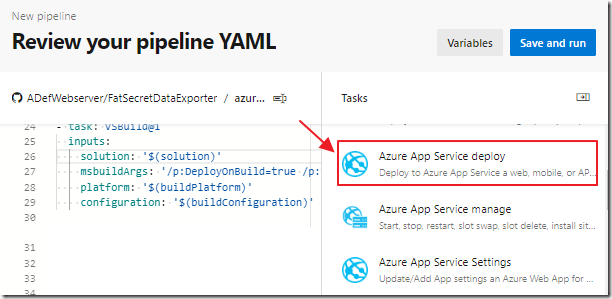
Select Azure App Service deploy.
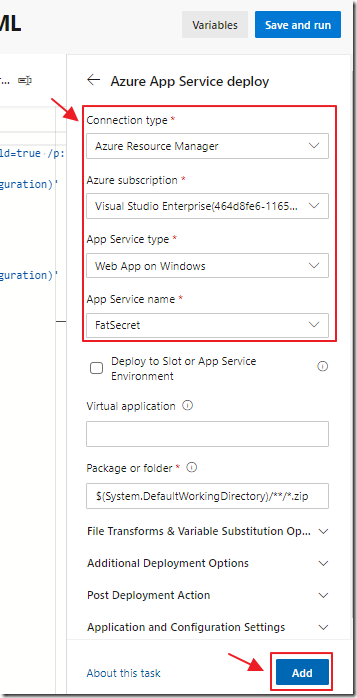
Fill in the information to connect to your existing Azure Web App you want to deploy to, and click Add.
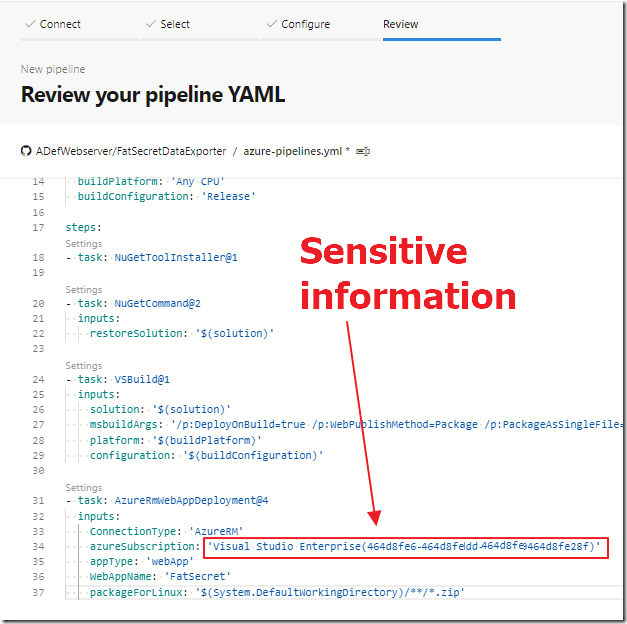
The .yaml deployment file is complete, but it contains sensitive information.
The problem is this .yaml file will be included in the public GitHub repo.
Copy the sensitive information…
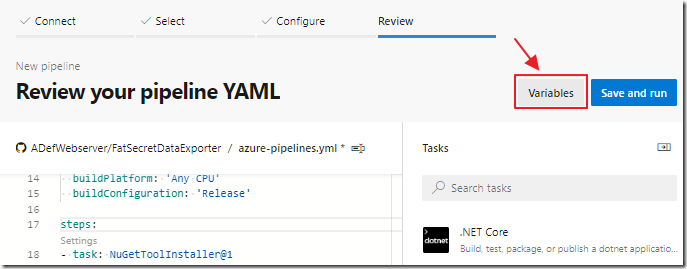
Click the Variables button.
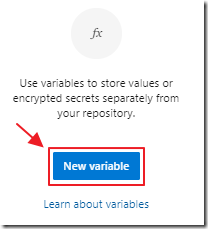
Click New variable.

Enter azureSubscriition for the variable Name, and paste in the copied information for the Value.

Click the Save button.
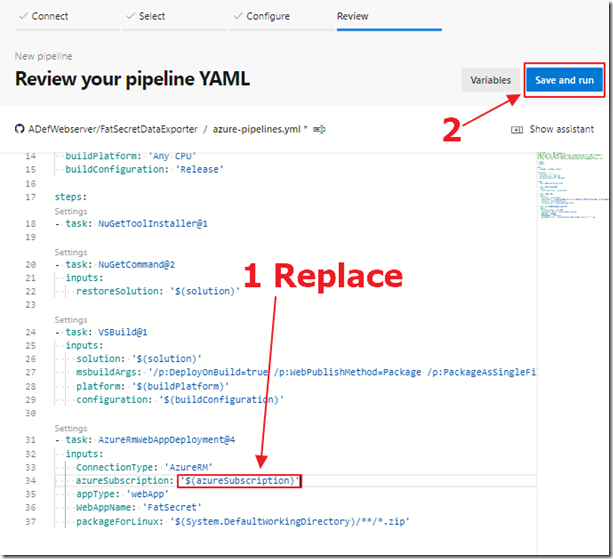
In the .yaml file, replace the copied information with the variable (include the singlequotes):
‘$(azureSubscription)’
Also in the .yaml script, change this line:
packageForLinux: '$(System.DefaultWorkingDirectory)/**/*.zip'
To this:
packageForLinux: '$(build.artifactStagingDirectory)\WebApp.zip'
Otherwise you may get the error: More than one package matched with specified pattern: d:\a\1\s\**\*.zip. Please restrain the search pattern.
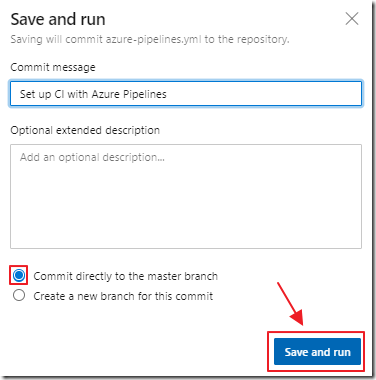
You will be asked to save the .yaml file to the GitHub repo.
Click Save and run again.
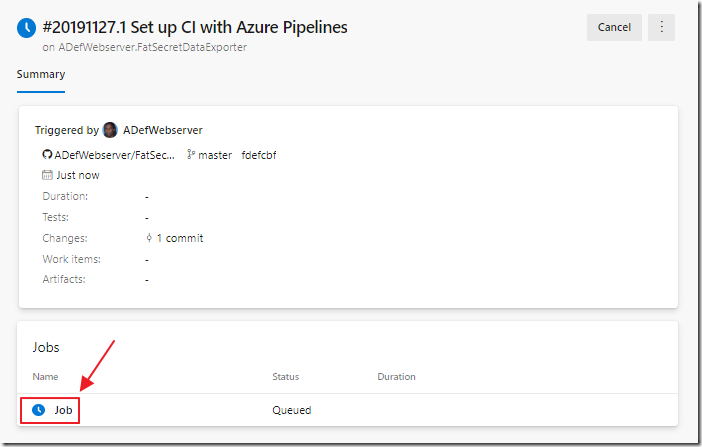
The Job will run.
You can click on it to see the details.
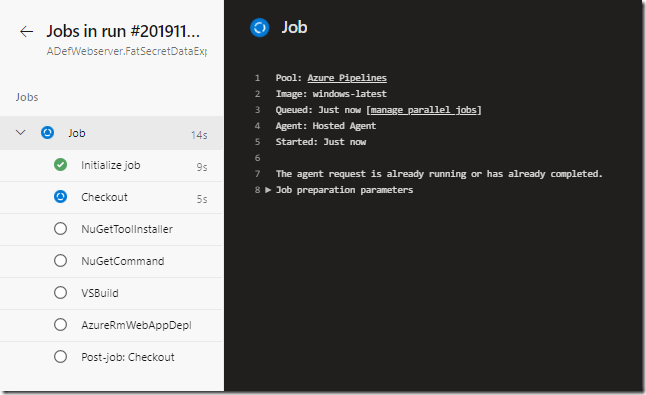
The steps will show as they run...
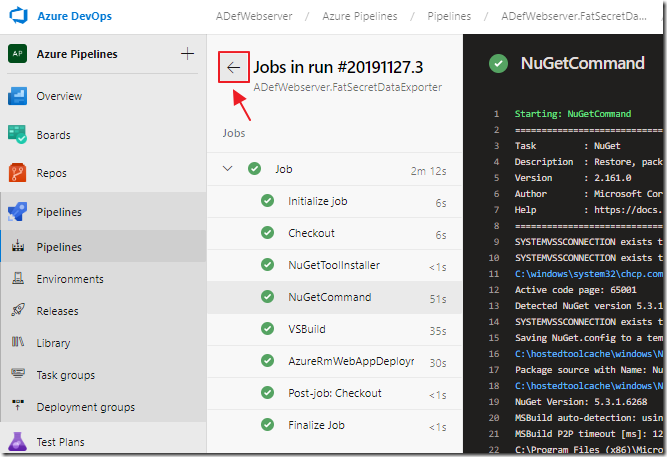
The job will complete.
You can click the arrow to exit the job window.
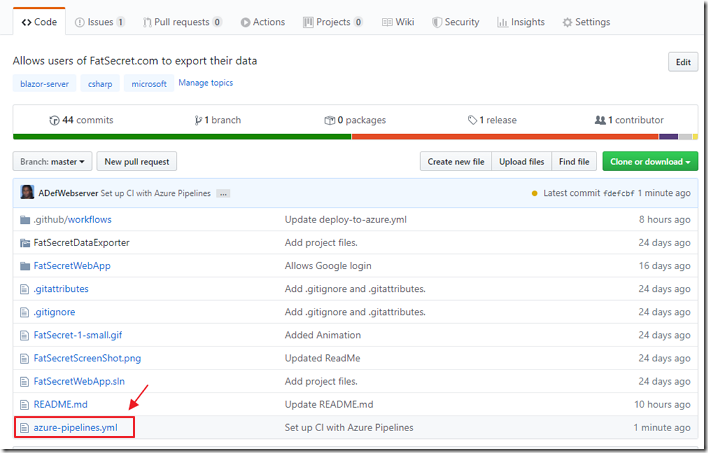
If you look in the GitHub site you will see the .yaml file has been added…
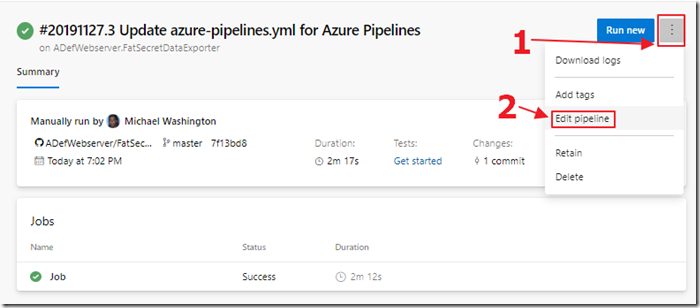
Back in the Dev Ops site, you can edit the file.
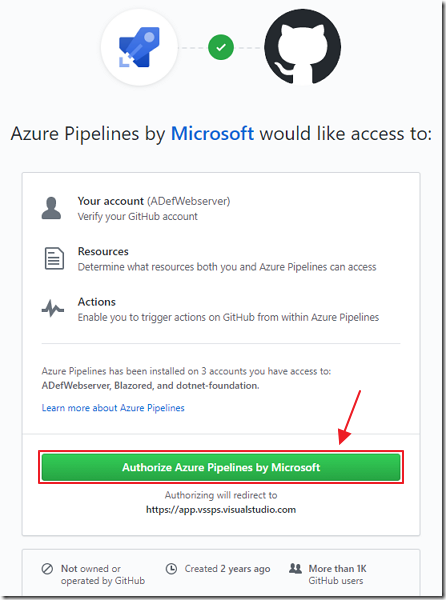
The first time you try to edit the file, you will have to authorize Azure Pipelines.
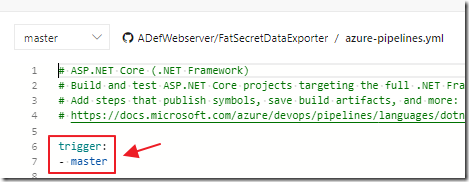
When we look at the file, note that the trigger is set to master meaning it will run whenever we commit to master.
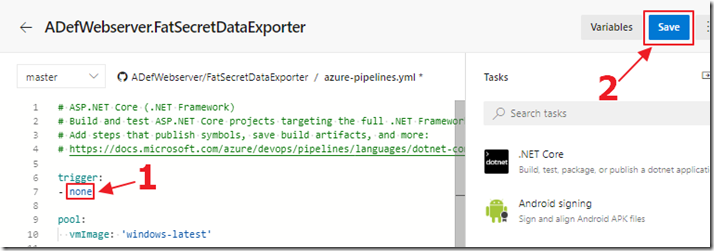
We can change this to none and save the file to allow us to only run this on demand.
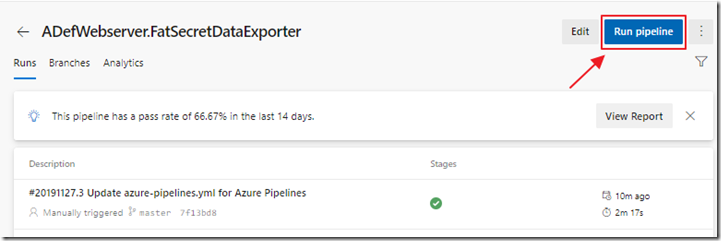
To run it on demand, we select the Pipeline and then click the Run pipeline button.
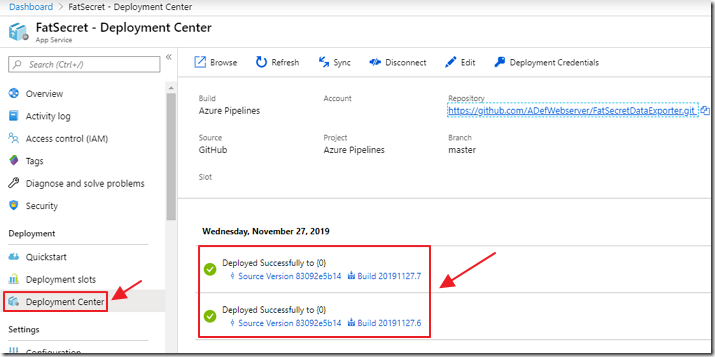
Also, we can log into https://portal.azure.com/ and select the App Service, and see the deployments in the Deployment Center.